Xan Civilization Quest (Adonis)
Table of Contents [+]
- One Who Points the Way
- One Who Greets Wanderers
- Fourth Watch Down
- Clan: Conserver Gil Gala-Hume
- Omni: Operator Xum-Nar Dal
- Scott Free
- Dr. Aleksander Koumas
- Dr.Marko Steffensen
- Mission: Investigate mysterious creature
- Mission: Return tissue sample to Dr. Steffensen
- Mission: Talk to One Who Gives Warnings
- Mission: Get mixture from Jackson Turnfloat
- Mission: Mix up some Soothing Mixture
- Mission: Return Soothing Mixture to One Who Gives Warnings
- Mission: Scan Hecklers
- Mission: Return to One Who Gives Warnings
- Mission: Talk to One Who Remembers The Past
- Mourning Calamity Five
Class: All Classes
Faction: All Factions
Level: 130-220
Item Links:
Quicklink (copy this):
Feedback: Feedback-Thread
Note: This quest line might be challenging even for some end-game characters. It is quite a long questline, though you can stop and start the quest line at every quest NPC, so there are plenty of opportunities for a break.Faction: All Factions
Level: 130-220
Item Links:
Quicklink (copy this):
Feedback: Feedback-Thread
You can pick up this quest line as soon as you zone into Adonis from a Yutto called One Who Points the Way.
⇑
One Who Points the WayLocation: Adonis, At the Gates - 1972 x 51
Besides giving general directions, this Yutto will also start to chat about the rise of the Xan civilization.
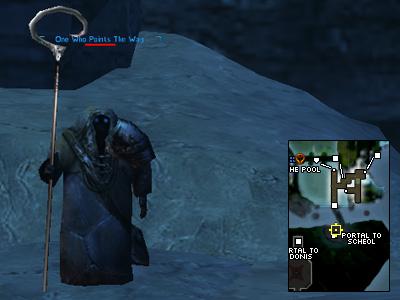
One Who Points The Way.
In order to learn more as well as get your hands on some phats, you will have to travel to the next Yutto.
⇑
One Who Greets WanderersLocation: Adonis, "Area" - 126 x 129
Just across the stone bridge and through the door is One Who Greets Wanderers.
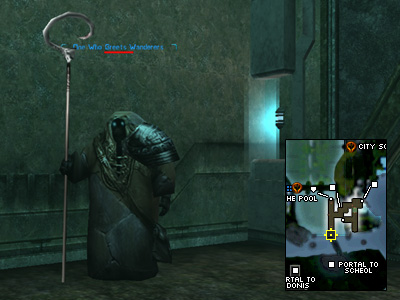
One Who Greets Wanderers.
He feels a bit peckish and wants you to bring him a bundle of fish. These will spawn in your inventory when you have killed 3 Stingers. You will find lots of stingers when you zone north into the water. Don't forget your scuba gear!!
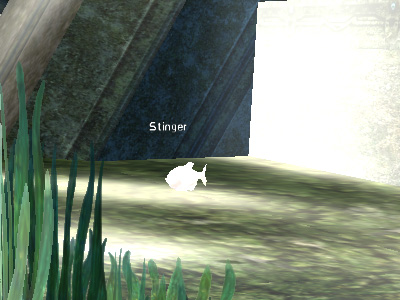
Stinger.
For giving him these... urm very yummy treats... the yutto will reward you with both an Insignia of Gilthar and Insignia of Dalja and direct you towards your next contact. (This is a great time to get yourself saved in the garden if you haven't done so already).
⇑
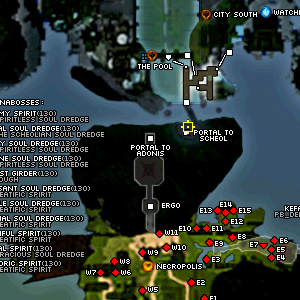
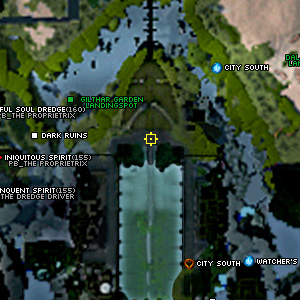
Fourth Watch DownLocation: Adonis, The Pool - 1918 x 519
This Yutto is located right after the under water passage from the pool.
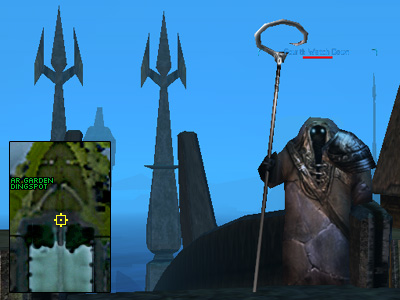
Fourth Watch Down.
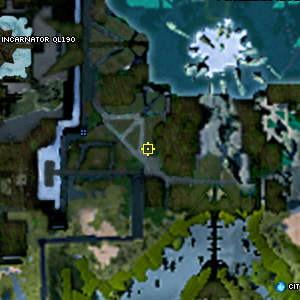
His problem are spirits, but for now, just finding them is enough. You'll have to tab around to target a Cascading, Voluminous, Slinking and Magnanimous Spirit. While there are usually enough Cascading Spirits around the Yutto's location, you are likely to need to search for others. A good place to look is the Eastern Incarnator in Adonis.
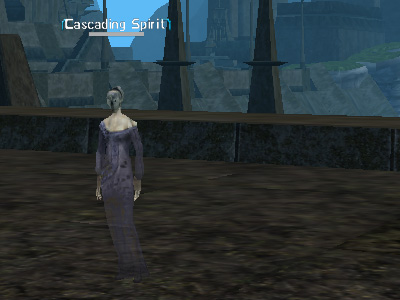
Cascading Spirit.
Once you have located all 4 of them and returned to Fourth Watch Down, he'll reward you with Kanel's Story - First Edition and send you onwards.
The Quest splits two ways now, depending on your faction.
⇑
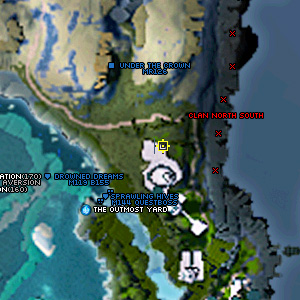
Clan: Conserver Gil Gala-HumeLocation: Adonis, The Outmost Yard - 2581 x 1660
If this is your first time to Adonis, reaching him will pose a bit of problem since he stands on top of a cliff. The trick is to jump into water north of Outmost Yard, swim NE and then climb up the hill from its southern side.
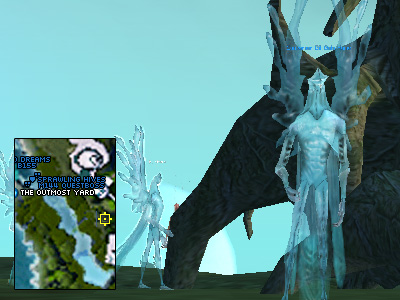
Conserver Gil Gala-Hume.
Completely uncharacteristically for a member of the Redeemed faction, he comes right out and asks you to butcher the opposition, namely 5 Boran-Kaars and 5 Cimi-Els.
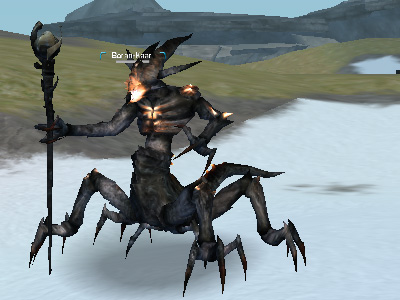
Boran Kaar.
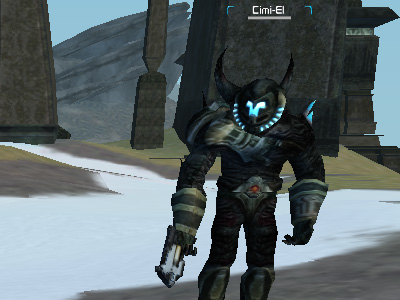
Cimi-El.
Next, you need to kill Biran-Keir the Custodian, he is located in a dungeon. To get there, just follow your directional arrow. Once dead, claim your reward : Kanel's Story - Second Edition from Conserver Gil Gala-Hume and continue to Scott Free.
⇑
Omni: Operator Xum-Nar DalLocation: Adonis, Watcher's Keep - 1324 x 2392
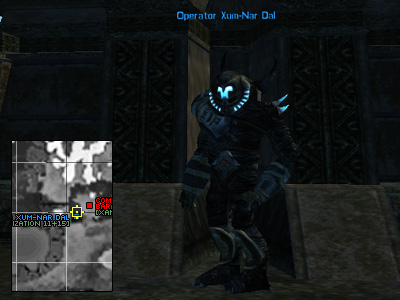
Operator Xum-Nar Dal.
He will give you the task of killing 5 Den-Losas and 5 El-Kaels.
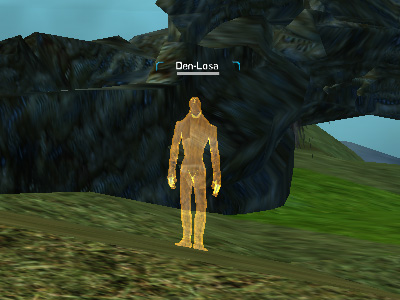
Den Losa.
El Kael.
Next, you need to kill Car-Mea the Custodian, located in a dungeon. To get there, just follow your directional arrow. Note that if you are doing this portion in a team, each team member needs to kill a Custodian. This often means copying keys and bringing the team into the same dungeon.
Once the Custodian is dead, claim your reward – Kanel's Story - Second Edition from Operator Xum-Nar Dal and continue to Scott Free.
Ok, back to both factions doing the same quest again!
⇑
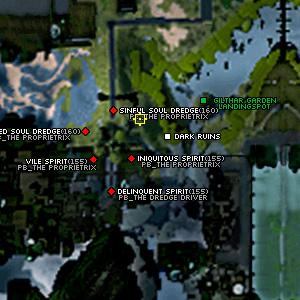
Scott FreeLocation: Adonis, Adonis City- 1634 x 568
For a guy in hiding, this one is rather active. Of course there's an evil scheme behind all that, but don't worry, you won't be implemented though unfortunately won't reap the results either.
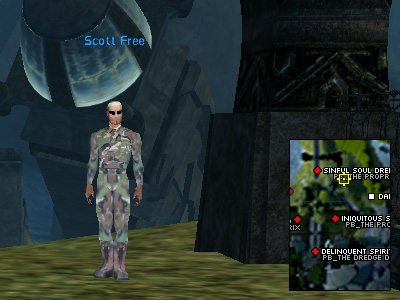
Scott Free.
His first task for you is to collect a set of 3 recollection shards
These shards drop from Scintillated Spirits just north of his location. If you are in a team, each team member needs to get their own shards.
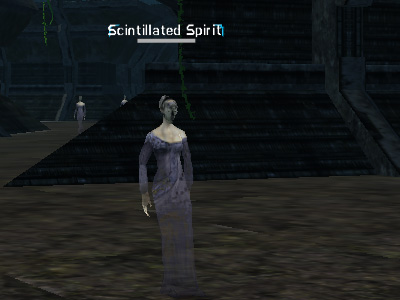
Scintillated Spirits.
For your troubles, when you return to Scott, you will receive Kanel's Story - Third Edition. His second task for you will be to find and kill Amok Baraton.
Amok Baraton.
He'll reward you with Kanel's Story - Fourth Edition and send you to Dr. Koumas.
⇑
Dr. Aleksander KoumasLocation: Adonis, The Dig - 1429 x 625
This Jobe scientist has a problem with archaeological dig nearby.
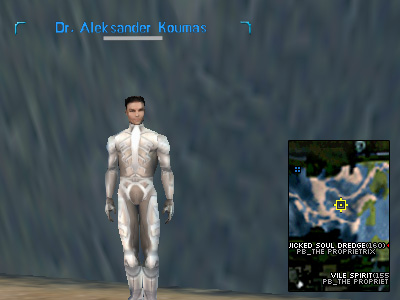
Dr. Aleksander Koumas.
The dig itself is actually quite fine, there's just a small matter of pest control. Your task is to kill the Ruins Guardian (190), Ruins Defender (200) and Ruins Protector (210). To find the ruin, you just need to head slightly north west from Dr. Koumas. These mobs have some nasty tricks, like hiding if no-one is near and warping people to its location. The Ruins Protector will also spawn several Adonian Spirit Hunters (level 170), so someone helping who is lucky enough to find that the Spirit Hunters are grey to them would be very useful.
Ruins Defender.
When you have finished getting rid of the mobs at the Ruins, return to the Doctor. Dr. Koumas will reward you with a Consanguineal Embryo of Yomi'Arallu, he will also send you on your way to find Dr. Marko Steffensen.
⇑
Dr.Marko SteffensenLocation: Adonis - Sacellum, 1916 x 2592
Dr.Steffenson has a personnel problem. So he's more then willing to enlist you to help him.
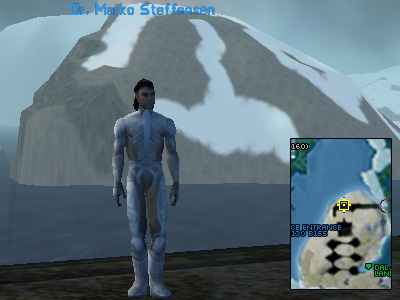
Dr. Marko Steffensen.
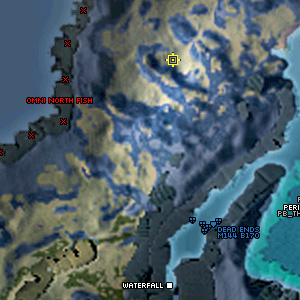
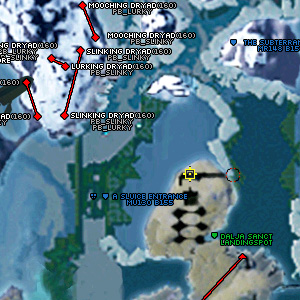
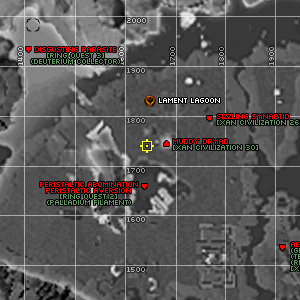
First he'll sent you on aquatic adventure, killing, sighting and collecting different specimens (after you complete each task, you'll get automatic update, so at least you don't have to travel forth and back again). All 3 of the different creatures are shown on the map below (taken from AoSL).
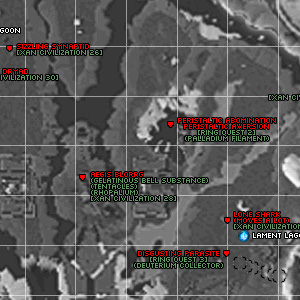
Map of Adonis Underwater.
Your first assignment is to kill 5 Sizzling Synaptids. Like your briefing states, they are found around under water garden statues. They are more commonly found directly east of the omni Lament Lagoon garden exit.
Sizzling Synaptid.
Next task is to sight Lone Shark. Lone Sharks agro on sight and killing it just makes whole thing worse, since more mobs spawn (and it's more than likely someone will do exactly this).
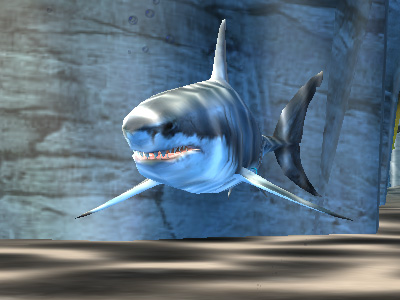
Lone Shark.
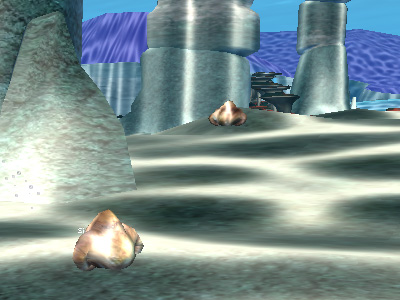
And now for specimen gathering. You need to collect these items:
All 3 of these items drop from Blorrgs.

Aegis Blorrg.
Once you bring these items back to Dr. Steffensen, he'll reward you with 3 Profession Specific Advents
| Doctor, Keeper, Nano-Technician | |
| | Agent, Fixer, Martial Artist |
| Engineer, Trader | |
| Bureaucrat, Meta-Physicist, Shade | |
| Adventurer, Enforcer, Soldier |
The 3 you receive will be the same type and dependent on your profession. You can read what to do with them here. Dr. Steffensen has more for you to do... namely to search for a mysterious creature.
⇑
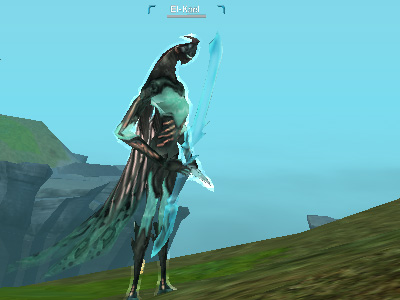
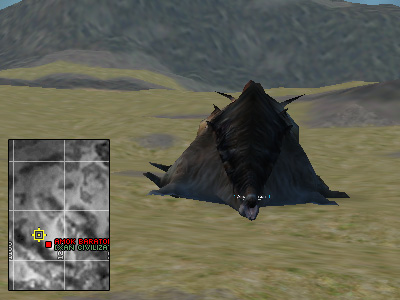
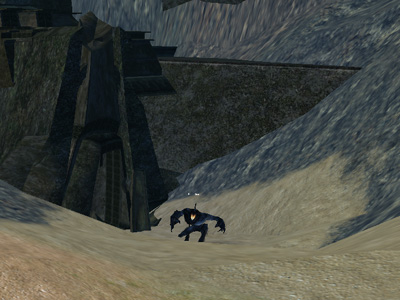
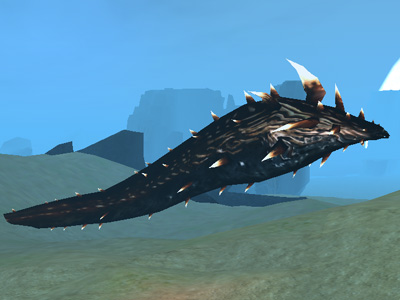
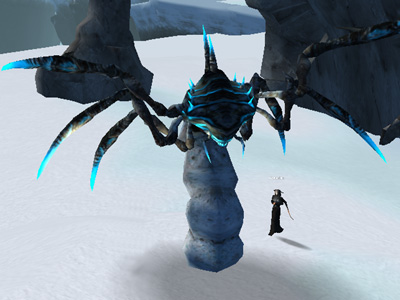
Mission: Investigate mysterious creatureThis dryad is about as far from being a "normal" dryad as he can get. He is enormous, he warps his attackers into the water surrounding him and also spawns tentacles to try to lead you to your death.
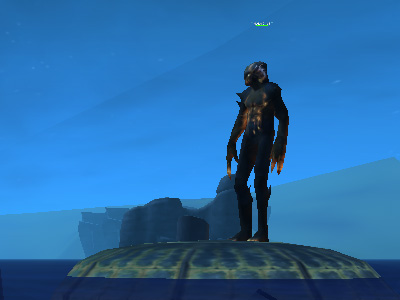
Muddy Dryad.
The dryad is level 200, and there is not much you can do other than to face him and fight him on the platform he is stood on in the water. Once the creature is dead, a tissue sample should spawn in your inventory.
⇑
Mission: Return tissue sample to Dr. SteffensenTake the tissue sample back to Dr. Steffensen. He will reward you and send you on to the next Yutto.
⇑
Mission: Talk to One Who Gives WarningsLocation: Adonis, The Hourglass - 2544 x 980
Before you can do anything "useful" for this Yutto, you need to bring him his daily dose of medicine. So first you need to visit Jackson Turnfloat.
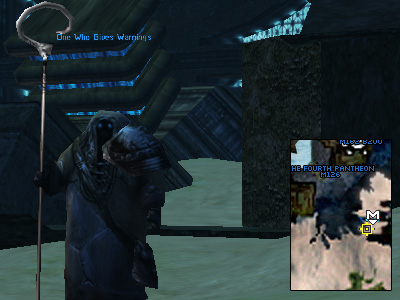
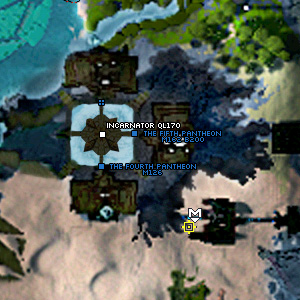
One Who Gives Warnings.
⇑
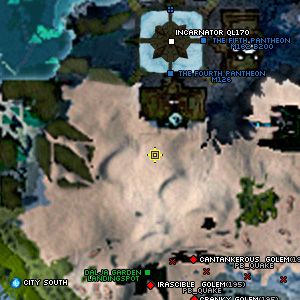
Mission: Get mixture from Jackson TurnfloatYou will find Jackson monitoring the activity around the Golems just south west of One Who Gives Warnings.
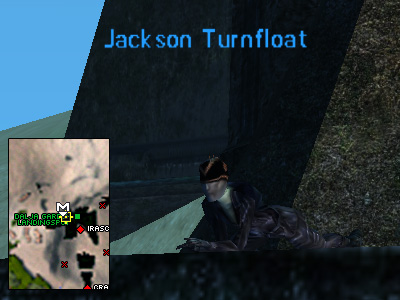
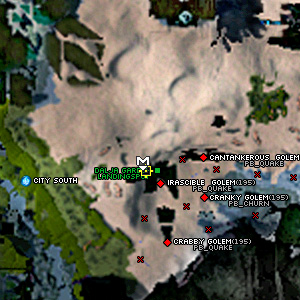
Jackson Turnfloat.
When you tell him that the Yutto is after some of his mixture, he will give you
However, he tells you that you will have to go and hunt for the second ingredient. The ingredient you are looking for is
To get your hands on this, you need to go and kill Molokh. There are several around Jackson's location.
Molokh.
⇑
Mission: Mix up some Soothing MixtureWhen you have found the second ingredient on the corpse of a Molokh, you need to combine it with the leaves that Jackson gave you. You can use the tradeskill interface to do this or simply shift+rightclick your items together:
Now we need to take the mixture back to the Yutto.
⇑
Mission: Return Soothing Mixture to One Who Gives WarningsWhen you return to One Who Gives Warnings, trade him the Soothing Mixture. He's one happy Yuttocra now, and he will give you a Yuttos Modified NCU for your troubles. Note: This is the lowest QL Yuttos Modified NCU available, and can therefore be quite a valuable piece of equipment. You can only get this item via this questline or from buying it from someone else who has completed the quest.
⇑
Mission: Scan HecklersThe Yutto is now ready to issue his real challenge. With the help of a scanner you need to tag some heckers and a golem in order.
The ones you are looking for are:
- Heckler of Elements
- Heckler of Harmony
- Heckler of Dreams
- Dormant Golem
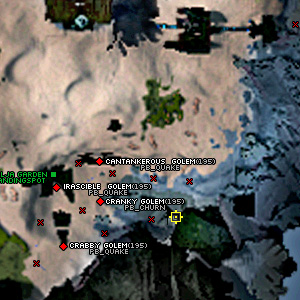
The hecklers can all be found north of the Yutto on the brink.
The Dormant Golem however is south of the Yutto and slightly hidden
Note: To scan them pick up the Metamorphic Petrology Scanner and R-click it on top of the heckler you are trying to scan. Be sure you have successfully completed the scan before moving on to the next heckler. You should receive a message that states:
Mission accomplished.
You got a new mission.
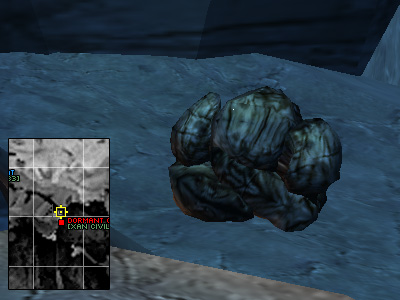
Dormant Golem.
When you have managed to scan them all, your mission should update.
⇑
Mission: Return to One Who Gives WarningsAs your reward for completeing this part of the quest you will receive 3 profession specific wills, used in the tradeskill process to make a Tier 2 Glyph for your profession.
| Adventurer, Doctor, Fixer, Meta-Physicist, Trader | |
| Agent, Bureaucrat, Nano-Technician, Soldier | |
| Enforcer, Engineer, Keeper, Martial Artist |
You will also receive the location of next Yutto to go and see.
⇑
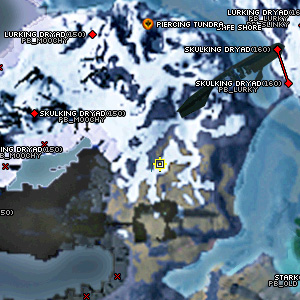
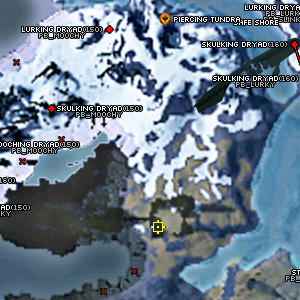
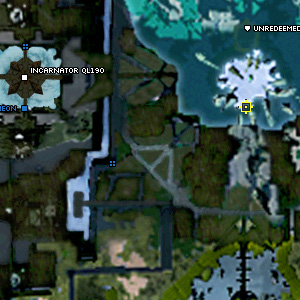
Mission: Talk to One Who Remembers The PastLocation: Adonis, Piercing Tundra - 1602 x 2858
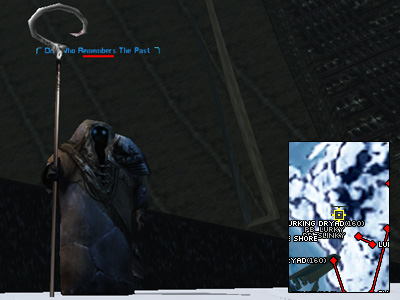
One Who Remembers The Past.
Hint: If you don't want to run through all those Dryads on this island in order to get to this Yutto you can jump off the main land north of the Unredeemed Sanctuary statue Piercing Tundra. Swim (or better use a Hoverboard) north-east to the western tip of the island with the Yutto. There is a spot at 1434x2919 where you can get out of the water. Move very close to the coastline to find it.
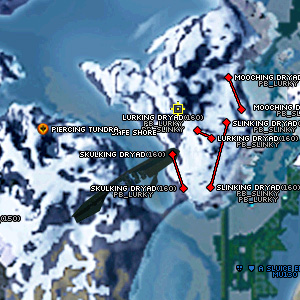
This Yutto wants you to kill 4 Numb Eremites, 4 Brisk Dryads and 4 Malah-Dors. All mobs are located around the peninsula west of Yutto's location. The Eremites like to hide under the snow, so watch your step!
Numb Eremite.
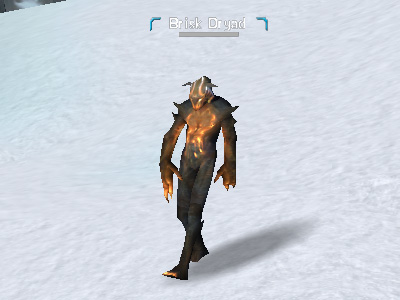
Brisk Dryad.
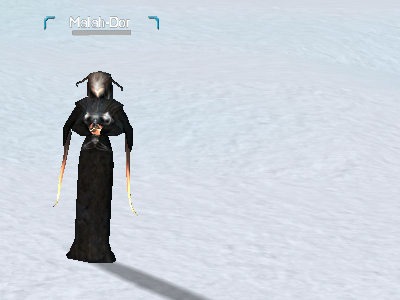
Malah Dor.
Note: Hecklers dwell on the Adonis brink. So venturing too close to it might not be a smart idea.
Once your mission is updated with the right amount of kills, head back to One Who Remembers The Past. The Yutto will then direct you to your final contact in this questline, Mourning Calamity Five.
⇑
Mourning Calamity FiveLocation: Adonis, The Vortex - 1925 x 1108
Mourning Calamity Five has a task for you, he wants you to kill Tower Keeper Tagnat. Unless you have high level support, this last part can prove difficult and this time you even get warning of how tricky it is by the Yutto inviting you to buff before he opens the portal to Kepeer's location.
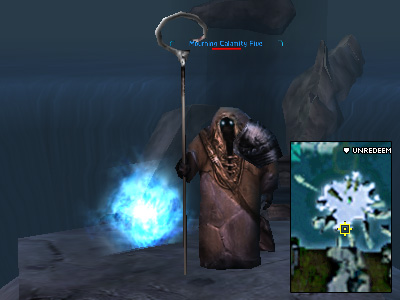
Mourning Calamity Five.
To get to Tower Keeper Tagnat, you need to use the portal. This portal will take you to an overhead bridge in Adonis where the mob is otherwise unreachable.
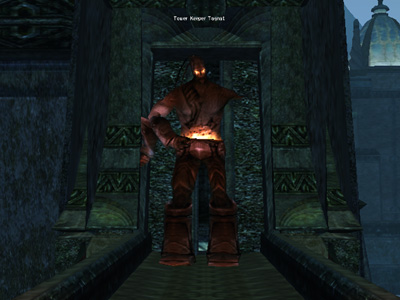
Tower Keeper Tagnat alone doesn't really hit that hard, but he has other tricks. One of his main tricks is warping. Unfortunately when he does warp people, it breaks off his attack, which means that his heal delta kicks in. He also spawns Blazing Fires along the bridge. The blazing fires can't be attacked and they emit small range AoE dots. So best advice is to stand as close to the Keeper as you can. Once you have killed the Keeper, all you need to do is to jump off the bridge you killed him on and run back to the Yutto. For your troubles, he will reward you with a profession specific Syndicate Brain Symbiant.
| Profession: | Brain symbiant rewarded: |
| Adventurer | Syndicate Brain Symbiant of the Explorer |
| Agent | Syndicate Brain Symbiant of the Devious |
| Bureaucrat | Syndicate Brain Symbiant of the Leader |
| Doctor | Syndicate Brain Symbiant of the Healer |
| Enforcer | Syndicate Brain Symbiant of the Thug |
| Engineer | Syndicate Brain Symbiant of the Constructor |
| Fixer | Syndicate Brain Symbiant of the Messenger |
| Keeper | Syndicate Brain Symbiant of the Protector |
| Martial Artist | Syndicate Brain Symbiant of the Balanced |
| Meta-Physicist | Syndicate Brain Symbiant of the Enlightened |
| Nano Technician | Syndicate Brain Symbiant of the Notum Lord |
| Shade | Syndicate Brain Spirit of Guile |
| Soldier | Syndicate Brain Symbiant of the Grunt |
| Trader | Syndicate Brain Symbiant of the Salesman |
Last updated on 05.22.2023 by Cariadast
Information originally provided by Trgeorge.
Special thanks to Lenith for filling up the Unredeemed part of quest.
Updated by Ukblizzard
Do you have questions about this article or found an error? 9 comment(s) - Click here to view them!
Information originally provided by Trgeorge.
Special thanks to Lenith for filling up the Unredeemed part of quest.
Updated by Ukblizzard
Do you have questions about this article or found an error? 9 comment(s) - Click here to view them!
