Neretva Canyons
Table of Contents [+]
Class: All Classes
Faction: All Factions
Level: 201-220
Item Links:
Quicklink (copy this):
Feedback: Feedback-Thread
To get to Neretva Canyons, head around the ravine to the left and then follow the sign that points up a ramp. Part way up the ramp you will find a shuttle and a teleport pad you need to stand on to gain access to this area.Faction: All Factions
Level: 201-220
Item Links:
Quicklink (copy this):
Feedback: Feedback-Thread
Shuttle
Location: Approximately 728 x 561, Central Gateway
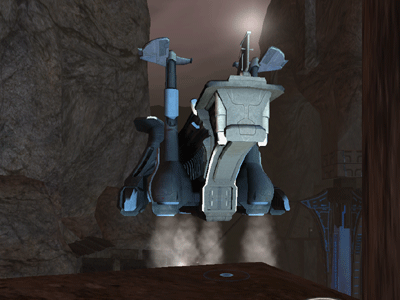
Shuttle to Neretva Canyons
As you zone through, you can go either left or right. Left will take you, however, to a fence.. Although this is reportedly the front door, though it looks more like a back heavily protected door, there is no way of getting through that as the Dust Brigade has it fenced off and shut tight. If you do want to try your luck, have fun hugging reclaim!
So, it is to the right we go in the direction of Lance Corporal DeGeus to get started!
Lance Corporal DeGeus
- 144x1263
Location: Neretva Canyons
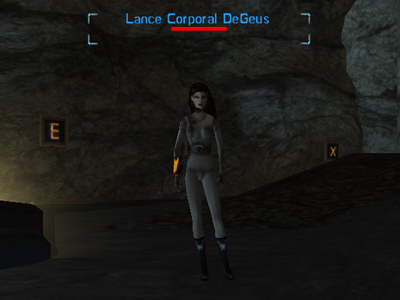
Lance Corporal DeGeus.
DeGeus tells you that the canyon area seems to be pretty much the Dust Brigades' main base of operations right now, maybe even their central command and that they appear to be trying to dig up as much Xan tech as is possible. This is obviously where you will come in.
As you may have noticed behind DeGeus, there are teleport pads, labeled A, B, C, D, E, F, and X which all lead to different, closed sections within the canyons.
From the dialog with DeGeus, you have the option to do areas A through to F in any order you wish, and to additionally choose the dialog to do ''Maybe something a little less... intense'' and do these 2 missions at the same time.
NOTE: Area X requires proof that you have completed areas A-F from DeGeus and is covered in the Area X section of this guide.
Area A Area B Area C Area D Area E Area F Area X
Cleaning House - Commandos
Cleaning House - Security Drones
Cleaning House - Commandos
Cleaning House - Security Drones
As a note for these areas, you need to be on the lookout for notum crystals. That look like this :
(Drops from Dust Brigade Engineers) | (Drops from Dust Brigade Operators) | (Drops from Dust Brigade Technicians) | (Drops from Dust Brigade Superior Commandos) |
These crystals will be required later on with the Vortexx Experience.
⇑
Area A :: The Digging Machine - 674.4x856.9
Talking to DeGeus you learn that you need to find the tunneling machine that the Dust Brigade is using to advance within the Neretva Canyons. She will give you a Unicorn-Modified Hacking Tool. Once you have found it, use the Unicorn hacking tool to disrupt the machine, and receive vital information on its workings.
Inside the area are quite a lot of Dust Brigade mobs. Be prepared to do battle (or a lot of calming). If you need to kill them, be sure you loot the bodies as some provide useful NCU items and, of course, the crystals that will help you with Vortexx
To get to the digging machine, you need to run forward until you reach a fence of drones (four) called Dust Brigade Drone Embankment. You can run through these but you may want to take them out to ensure you aren't snared by them, and killed by the Dustbrigdes just beyond waiting for you.
Once you take care of the drones and any Dustbrigades waiting (either by killing or calming) you may notice a large hole in the ground a short distance in front of you. The interior of the large hole is an area full of crystals covering the ground.
Before you reach this Crystal Field, you'll want to turn to the left of this area and travel straight along the path in the map below. Follow the red path through a second set of Dust Brigade Drone Embankment. Just past the drones you should find a large area with Dust Brigade guarding the Digging Machine Control Panel.
NOTE: The Digging Machine should show on Saavick's map.
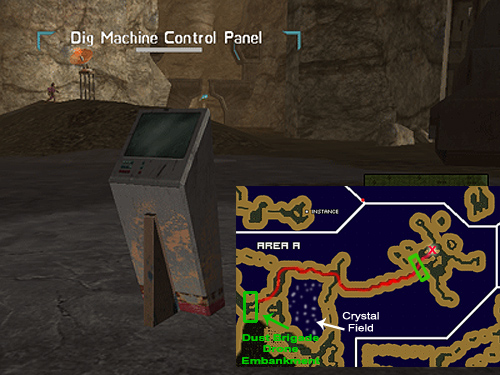
Dig Machine Control Panel
- 674.4x856.9
Open dialog with the Dig Machine Control Panel, follow the instructions and then your mission should update. Now, head back to DeGeus.
Reward:
⇑
Area B :: The FortificationThe mission for Area B is to disrupt a Dust Brigade depot. To do this, 3 Dust Brigade Barrier Generators must be destroyed in very quick succession to enable the shield fence to power down.
The Dust Brigade Barrier Generators are located to the right, left and down the middle of the area.
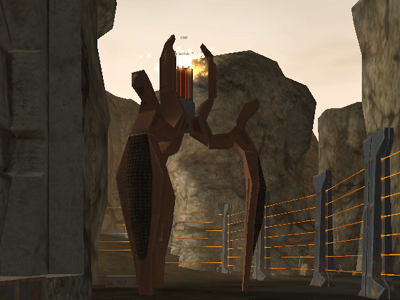
The left hand side Dust Brigade Barrier Generator.
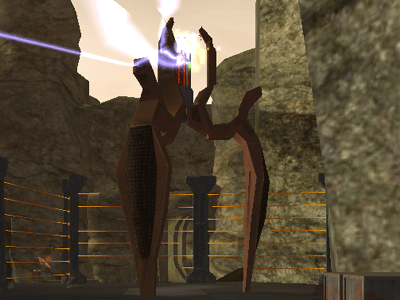
The right hand side Dust Brigade Barrier Generator.
All of the Generators look exactly the same and will show as red dots on your mini map. Ensure that all 3 of them are down and not respawned before advancing forwards. Should the shield fence not have powered down, you will be sent very quickly back to reclaim!
A tip for this area would be to split up your team to take down the generators, assuming you have several healers (an adventurer can easily outheal the damage from the generators). If you are trying to solo this, it's only going to be the top DD professions that stand a chance to get it done fast enough.
Once the fence is powered down, you are able to progress forwards to kill the main boss of this area.
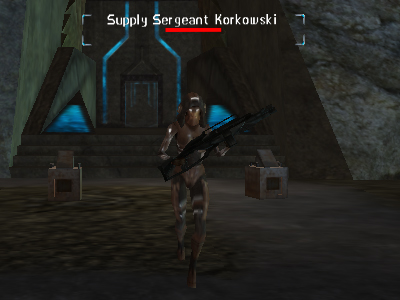
Supply Sergeant Korkowski
The boss doesn't hit too hard, however she does AoE stun every now and then, so beware!
Reward:
⇑
Area C :: Ancient ShadowsLocation: 490 x 899
The mission for Area C is to investigate the area and bring back any information we can about Xan Technology, specifically cyrochambers.
What you will need to do, is calm or fight your way through the Dustbrigade mobs until you reach a ruin entrance. The ruin is team instanced. Inside you will find a cyrochamber with an Awakened Mezzorash waiting for you.
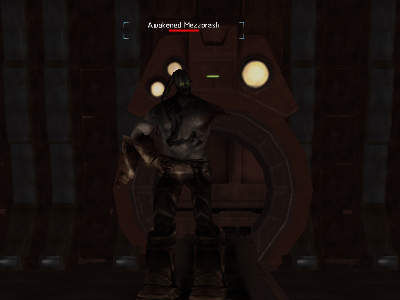
Awakened Mezzorash.
The Mezzorash hits for around 1k to 1.5k energy damage, was UBTable and wasn't really overly challenging. At about 50% of its health remaining it cast Biotoxin Cloud on us.
When the Mezzorash has been defeated, and you secured part of a keycard from the ruin (will pop into your inventory when the Mezzorash dies). Click the exit lever as shown in the image below.
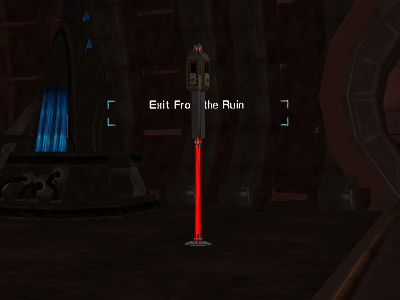
Exit back out of the ruin.
Killing the Mezzorash, however, appears to cause the spawn of Chief Xenobiologist Nicholson upon exiting the ruin.
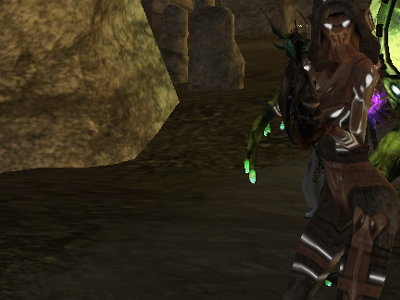
Chief Xenobiologist Nicholson
Now, head back to DeGeus and see what else you can find out when you have returned the keycard to her.
Reward:
⇑
Area D :: DisruptionThe mission for this area is to take the Unicorn Company Quantum Information Nano Inhibiter Device that DeGeus gives you, find the comms terminals in Area D, and scan them.
You should find that you have 6 missions for this area in your mission tab, one for each terminal. This means you do not have to do them in order. You can see the locations of each terminal by using your mini map ingame and entering the way points provided under each image below.
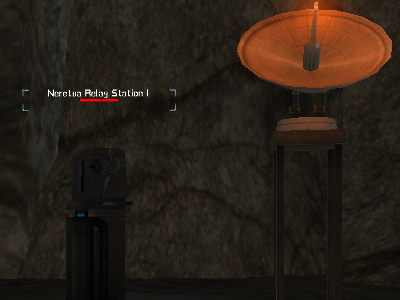
Neretva Relay Station 1 :: 651 x 537
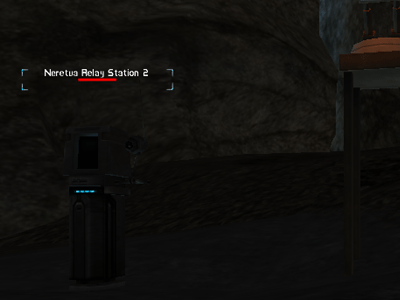
Neretva Relay Station 2 :: 817 x 748
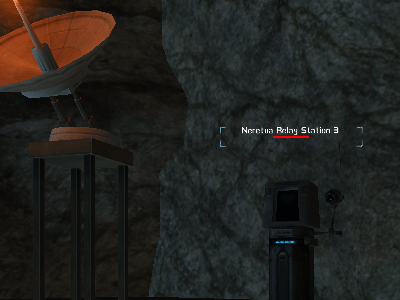
Neretva Relay Station 3 :: 920 x 713
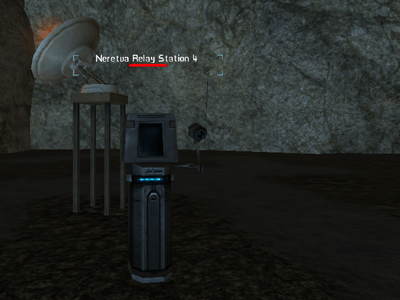
Neretva Relay Station 4 :: 1106 x 646
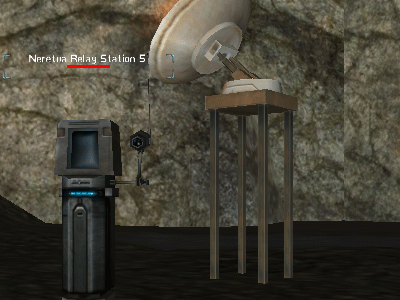
Neretva Relay Station 5 :: 987 x 522
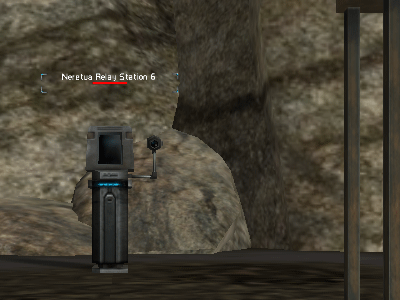
Neretva Relay Station 6 :: 940 x 350
When you have scanned them all and got 6 "distrupted" missions, you need to head back to DeGeus.
Note: Exit coordinates for this area: 792 x 592
Reward:
⇑
Area E :: Hazard WarningLocation: Approximately 460 x 145
The mission for Area E is to locate the Dust Brigades Chief Virologist, and to kill her.
If only things were just as straight forward as people make them sound! Not only do you have to kill the boss to complete Area E but you also have to RUSH back to DeGeuss to deliver the item that spawns in your inventory when the boss goes down. You have about 1m30s or so to get from the dead boss to DeGeus.
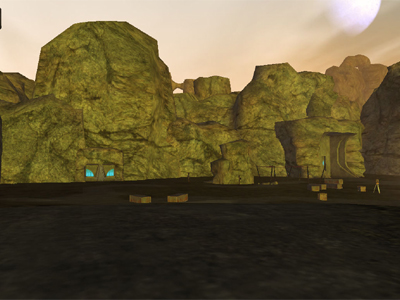
The Camp.
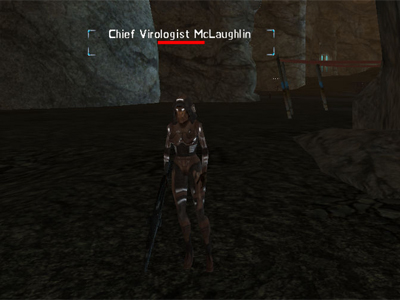
Chief Virologist
The Chief Virologist has a few special tricks up her sleeve, she can AoE Stun and AoE Init debuff. She also hits quite hard and has a large HP bar. However, she is UBTable,
As mentioned above, the MOMENT she goes down, run like HELL back to start. A good idea might be to familiarize yourself with the route back to the exit before actually killing the boss. I went the west route personally, felt faster, though it has TONS of turrets that hit for a lot so unless you have bio-cocoon or tons of evades, the eastern path might be a better option as it seemed to have fewer turrets.
Note: Exit coordinates for this area: 528 x 529
Reward:
⇑
Area F :: CommandosThe mission for Area F is to investigate the expansive training camp located within the ravines, it is apparently used for advanced combat exercises by the Dust Brigade. Obviously we need to put a stop to this. So, the main objective for this area is to take down the four Chief Commandos who are leading the training camp.
You should get 4 missions for this area for Commando Leonson, Halling, Bergman and Baate. As a note before you get started, Area F is FILLED with turrets that do ALOT of damage, more so than the bosses since they are often stacked up in groups of 2-3, use line of sight to pass them or just try your luck at running through since they are stationary.
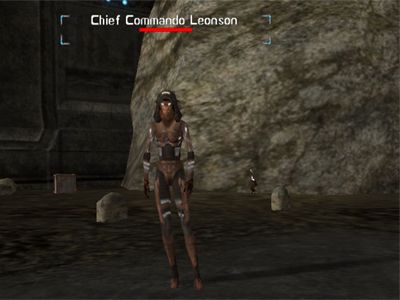
Commando Leonson :: Coords 897 x 842
Leonson does not appear to have anything special about her. She does the odd AoE attack every now and then, didn't notice that with the other bosses. Top advie team heal healed it up nicely though.
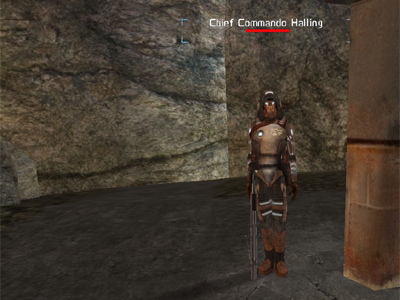
Commando Halling :: Coords 665 x 1260
Halling warps you around his vicinity and stops you attacking. At times he will cast a HUGE DoT on the tank, so be prepared (seems to be his last resort, never had him cast it midbattle, just towards the very end).
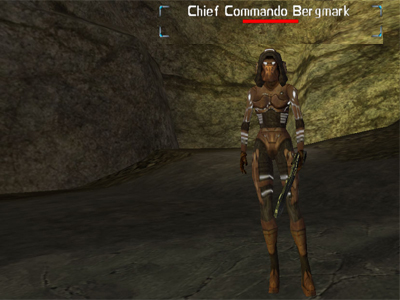
Commando Bergmark :: Coords 530 x 1080
Commando Bergmark has the chance to cast a -2000 init and runspeed debuff that lasts 20 seconds. Remove it if you can, because you really don't want that nano spending 20 seconds in your NCU..
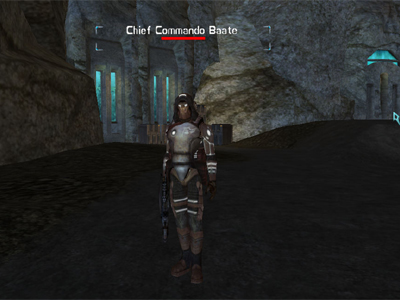
Commando Baate :: Coords 932 x 1046
Baate spawns adds that hit you for 2-3k and unlike the fanatics in Inner Sanctum they do not kamikaze but stick around, so kill them as soon as possible.
Note: Exit coordinates to this area: 723 x 1109
Reward:
When you head back to Degeus, you need to hand back the 3 Keycards. Doing so will produce one keycard which has all the clearance codes on it for you to be able to enter all the areas A through to F as well as the last area. Area X.
To access the areas within the canyon, right-click the Keycard in your inventory to upload access codes into your NCU.
⇑
Area X :: The End of the WorldYou now have access to the main Dust Brigade camp within the Neretva Canyons, where Lance Corporal DeGeus says their "Final Solution" weapon is being researched.
The Dust Brigade know you're coming.
The only part of Area X that is instanced, is where the towers are located. You must enter this area in a team, otherwise, you will be removed forcibly after about 30 seconds.
The amount of adds for each wave should always be 2 static plus 1 per player inside.
1 player = 3 adds
2 players = 4 adds
3 players = 5 adds
4 players = 6 adds
5 players = 7 adds
6 players = 8 adds
Adds spawn at around every 25% health reduction of each tower, followed by another spawn upon destruction.
Here is an overview of how to get through this area.
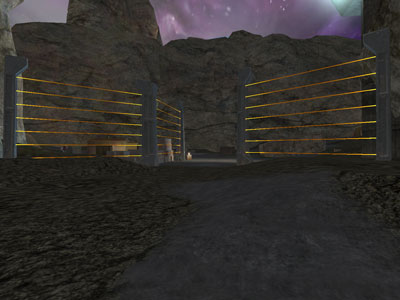
Path to the entrance within Area X
As you get to the end of this path, you will see this
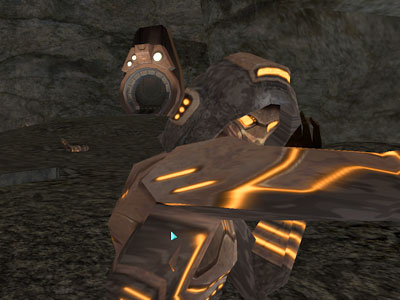
Entrance to Area X.
Going through this entrance will take you into an instanced area.
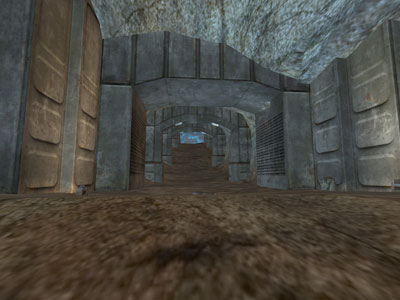
Inside the Area.
As soon as you get into this area, you should ideally take out the adds that are in the area. Then you can start on the towers. The towers need to be done in order, otherwise you will find they have a 1k reflect that will eat at you.
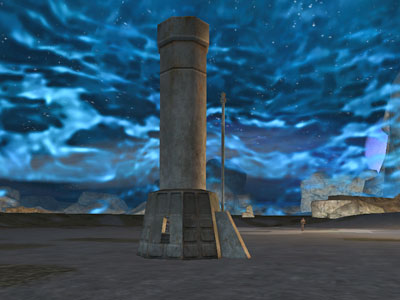
One of the 4 towers that need to be destroyed.
So, starting with the South tower .. open fire! Watch out for the adds that spawn. Once adds spawn, take time out from hitting the tower and deal with the adds instead. Once the adds are dead, continue with the South Tower. You are likely to get 4 lots of adds spawning on each the South, East and West tower. So repeat with each one.
South Tower = Engineers (NSD proc)
East Tower = Operators
West Tower = Commandos
With the North tower, you also get 4 lots of adds.. however you MUST stop hitting the tower when you have 1 bar of health left on it. This will give you chance to deal with the adds.
North Tower = Technicians (NTs, AoE nukes, definitely the hardest waves. Heal professions should stay just within nano casting range of the Tank to avoid being nuked themselves.)
Upon the last tower destruction (North), the boss will spawn. Before killing the North Tower, stop at 1 bar and deal with the adds. You do not want to be dealing with both the adds and the boss and will most likely die horribly in a bomb blast.
Now that you have the last wave disposed of, and the North tower nearly dead, THIS is the moment to call in some reinforcements if you are a little short on damage. Remember, the faster you take down Berens, the more time you have to stop the bomb..! If all goes well, the people you call in to help will only lose setup time and a maximum of 3 minutes of their play time!
You have just 3 minutes to kill the boss. If you take any longer you will get blown up by the Notum Bomb.
Something to watch for when you are killing the boss is a healing tower that he spawns. When he spawns this you need to move him away from it so he doesn't benefit from its healing capabilities.
Keep in mind, beating h not stop the countdown timer!
The timer will continue to run until someone shuts it down manually.
Loot Berens corpse and retrieve the 'Berens's Access Card' then open a chat with the Notum Bomb, chose the first option (only option other than Goodbye) and give it the 'Access Card' to complete the task!
Depending on how long it took you to take down the boss, you may only have seconds to do this and should have someone ready to do it immediately, just in case.
Once the bomb has been disabled, you need to leave Area X (the exit pad is against the wall, on the other side of the Dustbrigade compound (through all those mobs)) your reward will be given to you by Lance Corporal DeGeus once you talk to her again:
Xan Thigh Symbiant, XX Unit Beta
Also obtainable within 12 man dungeon encounter.
(Right click until it changes to one suitable for your profession)
''Maybe something a little less... intense?''
⇑
Mission Description: Cleaning House - Commandos 1 / 4- Take out ten Dust Brigade Commandos.
Fairly common, but seem more abundant in A, D and E.
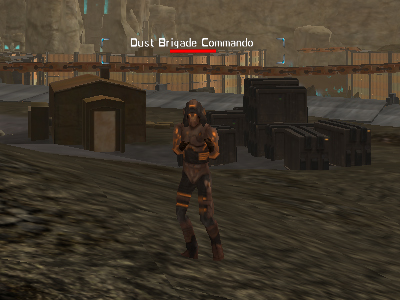
Dust Brigade Commandos.
Cleaning House - Engineers 2 / 4
- Take out ten Dust Brigade Engineers.
A bit less common than commandos, but there's a fair bunch in A and C.
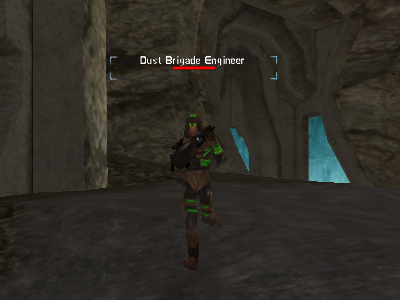
Dust Brigade Engineers.
Cleaning House - Technicians 3 / 4
- Take out ten Dust Brigade Technicians.
About as common as engineers, a few of them hang out in A and D at the very least.
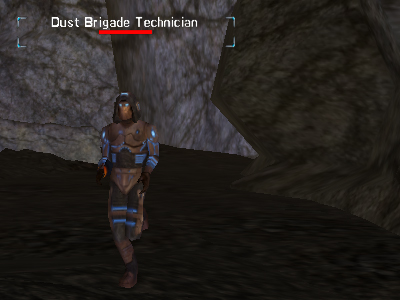
Dust Brigade Technicians.
Cleaning House - Exo-suited Commandos 4 / 4
- Take out ten Dust Brigade Exo-suited Commandos then return to the Corpral to confirm the deed's completion.
Very common in Area A, also spotted in Area D near the relay stations.
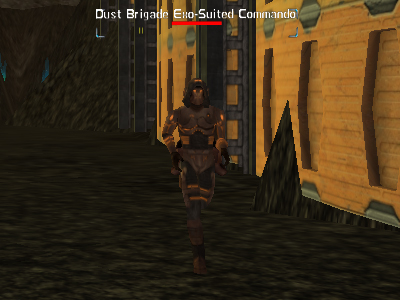
Dust Brigade Exo-suited Commandos.
When you've managed to kill enough Dust Brigade troops and your mission has updated, return to Lance Corporal DeGeus for your reward.
You can also pick up this mission:
⇑
Cleaning House - Security Drones 1 / 2-Take out twenty Dust Brigade Security Drones.
These turrets are incredibly difficult and usually can be found in groups of 2 or 3. You will find them in F and in E.
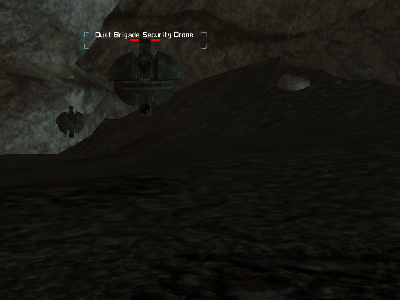
Dust Brigade Security Drones.
Cleaning House - Drone Embankments 2 / 2
- Take out twenty Dust Brigade Drone Embankments.
Not as hard as the Security Drones and pretty much present in all of the areas, but easiest to get to are the ones in A and F.
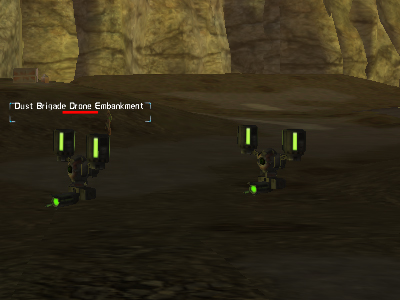
Dust Brigade Drone Embankments.
When you have taken them out and your mission has updated, return to Degeus. Tell her you killed the Dust Brigade Turrets and then she will give you your bounty.
Last updated on 04.09.2023 by bitnykk
Map for Area: A created by Saavick, image provided by Medcure, detailed updates by Luckycharmmz
Research submitted by the AO Universe team
Adds confirmation from Lindelu.
Details on Begmark's nano from Seoin.
Details on disarming Notum Bomb from Jasper2002
Written by Ukblizzard, Scenegg, Quilluck and Uragon, additional information provided by Windguaerd.
Do you have questions about this article or found an error? 10 comment(s) - Click here to view them!
