Dust Brigade - Outpost (DB1)
Class: All Classes
Faction: All Factions
Level: 190-220
Item Links:
Quicklink (copy this):
Feedback: Feedback-Thread
While anyone level 190+ can enter this Dust Brigade Outpost, it is recommended to be level 210+ and have as much Runspeed as possible to utilize the essential buff mentioned below. To get started, head to the Faction: All Factions
Level: 190-220
Item Links:
Quicklink (copy this):
Feedback: Feedback-Thread
Dust Brigade Dig Site
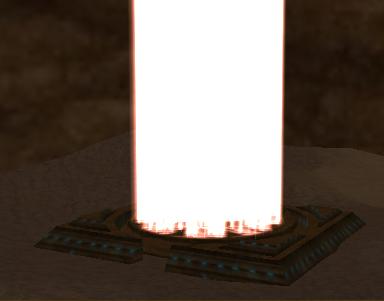
in Perpetual Wastelands. You will see three cave entrances. To enter the outpost, take the middle one. You must be teamed for the portal to activate.Perpetual Wastelands - 2117x2758
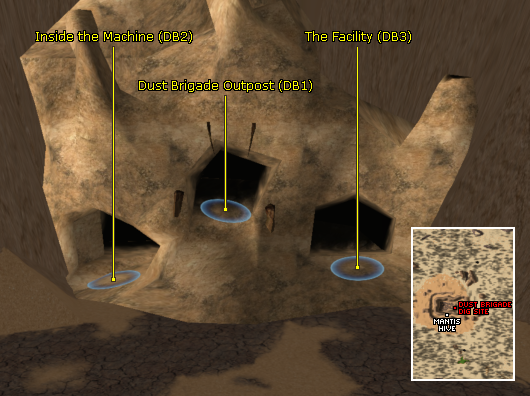
The Dust Brigade Dig Site.
NOTE The requirement for the Security Pass was removed in a patch; however, the pass is still available if you wish to grab one. The information below is retained for historical accuracy, but the item is no longer required for entry as of 2/2/2025.
Besides being teamed, you also need security clearance. For that you need a
Masked Commandos all over northern and central Perpetual Wastelands may drop these. There are usually a few in and around the Dig Site. The drop rate is close to 100% and at level 210+, you can most likely solo them, but note that they have quite a lot of HP.
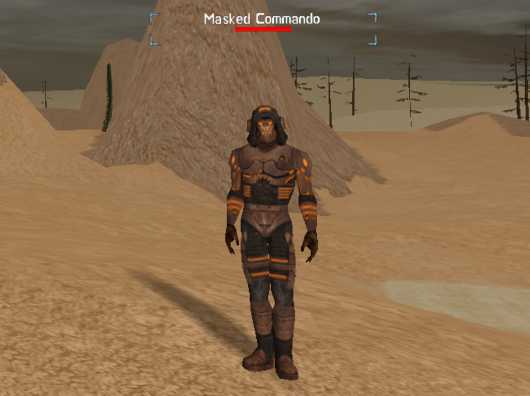
A Masked Commando.
Once you have a pass, simply right-click it and then you'll be able to enter.
The outpost itself is rather small. First, you'll be greeted by two more Masked Commandos. If you have a Bureaucrat in your team, they make for an interesting charmed pet. They don't deal much damage but have ample health.

Inside the Outpost.
After a short corridor, you'll be in the main area. In its center stands Ground Chief Mikkelsen, who is your primary target. Before engaging him, check out the rest of the place.

Ground Chief Mikkelsen.
There are four Altars lining the walls of this area, each with a different color light and a different effect. While Ground Chief Mikkelsen has a lot of health and deals a heavy blow, he also casts specific debuffs on you and your team members. The only way to get rid of these debuffs is to step on the appropriate Altar.
Furthermore, when close to death, Mikkelsen will cast a 3-minute long Damage over Time (DoT) effect. The only way to avoid this DoT is by running over the Yellow, Blue, Green, and Red altars in succession to get the Thrice Blessed by the Ancients protection buff running. The resulting nano lasts for 15 minutes. Because Mikkelsen's fight includes periodic "earthquakes" (which are short roots), it is highly recommended you get this protection prior to engaging him.
Ground Chief Mikkelsen Engagement Strategy
The method used most often for starting the encounter is to position your whole team next to the Yellow Altar. Coordinate your movement (via countdown in-game or voice chat) and begin running across the playfield, passing over Yellow first, and then heading toward Blue. Mikkelsen will aggro you at this time, but you must keep running to maintain the protection buff. Once you pass through the Blue Altar, immediately make your way left to the Green Altar, and then run across the playfield again to the Red Altar. Maintaining this running sequence ensures the team receives the full Thrice Blessed by the Ancients protection buff at the start of the fight, preparing you for his debuffs and the final DoT.
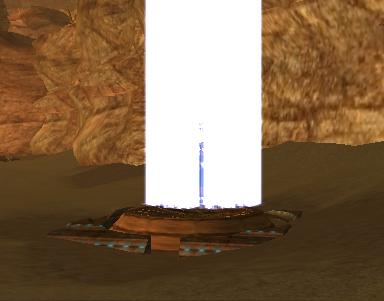 Altar of The Ethernal Craftsman | Blue Cures evade debuff. Stop attacking when debuffed, or you'll heal Mikkelsen. |
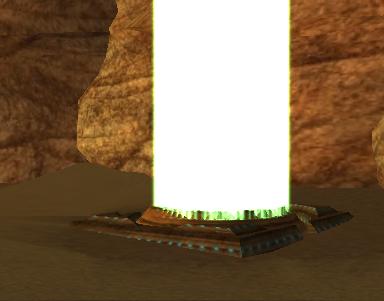 Altar of The Ancient Form | Green Cures Crawler morph. Enables you to fight again. |
 Altar of The Ethernal Cleric | Red Enables you to heal again. |
 Altar of The Ancient Machinist | Yellow Cures nano drain. |
With these mechanics, kiting is the primary strategy for this encounter. Whether the team passes the aggro between members or there is a dedicated tank, players will have to run around to use the Altars and get rid of the debilitating debuffs Mikkelsen cripples them with.
Once you manage to take him down, you'll be rewarded with two pieces of armor, two NCUs, and two Master Programs (used for upgrading Alappaa shoulder pads). All in all, he has a chance of dropping the following items:
Last updated on 12.02.2025 by lopnk
Information originally provided by Trgeorge. Additional information provided by Blondengy.
Do you have questions about this article or found an error? 6 comment(s) - Click here to view them!
Information originally provided by Trgeorge. Additional information provided by Blondengy.
Do you have questions about this article or found an error? 6 comment(s) - Click here to view them!
