Dark Pyramid Below
Table of Contents [+]
Class: All Classes
Faction: All Factions
Level: 201-220
Item Links:
Quicklink (copy this):
Feedback: Feedback-Thread
Faction: All Factions
Level: 201-220
Item Links:
Quicklink (copy this):
Feedback: Feedback-Thread
⇑
LocationSuch strange hybridation of Xan bio-technology and Cultist weirdo-worship could only take place into one of the most mysterious places among all Rubi-Ka cities : giant crater north of city of Home !
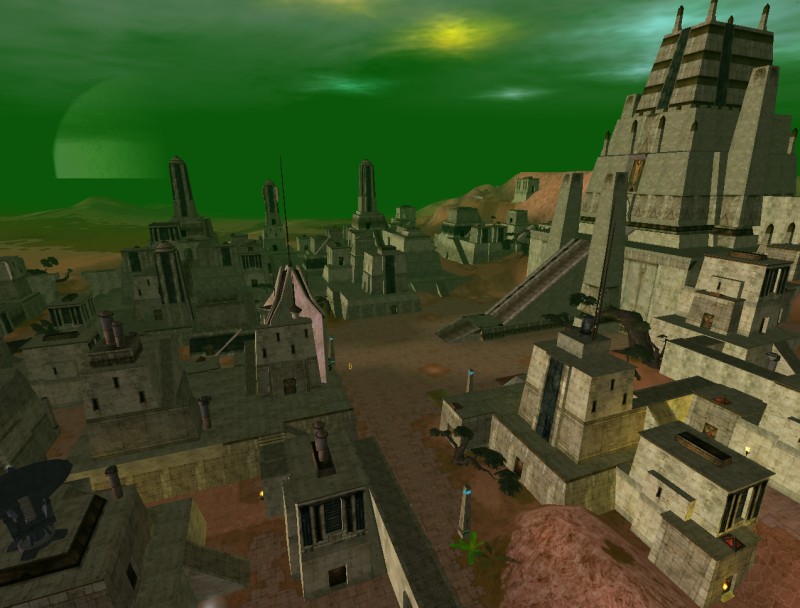
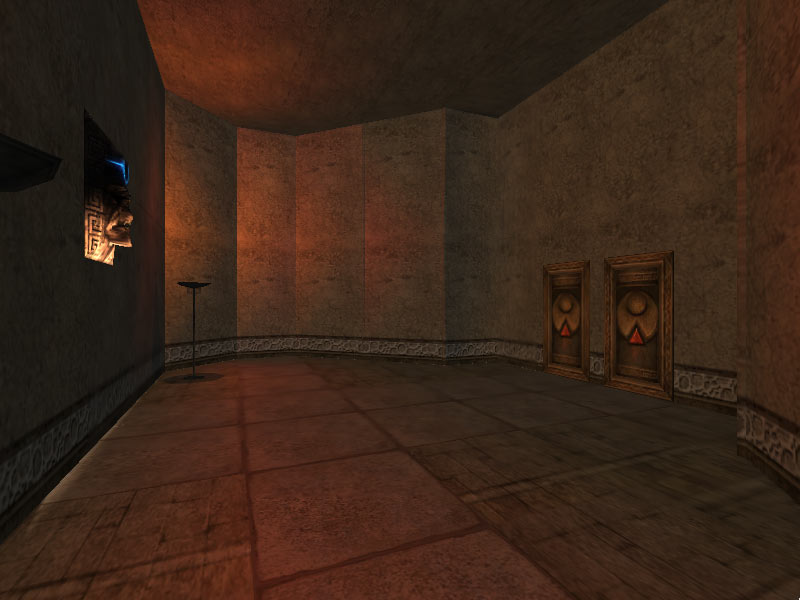
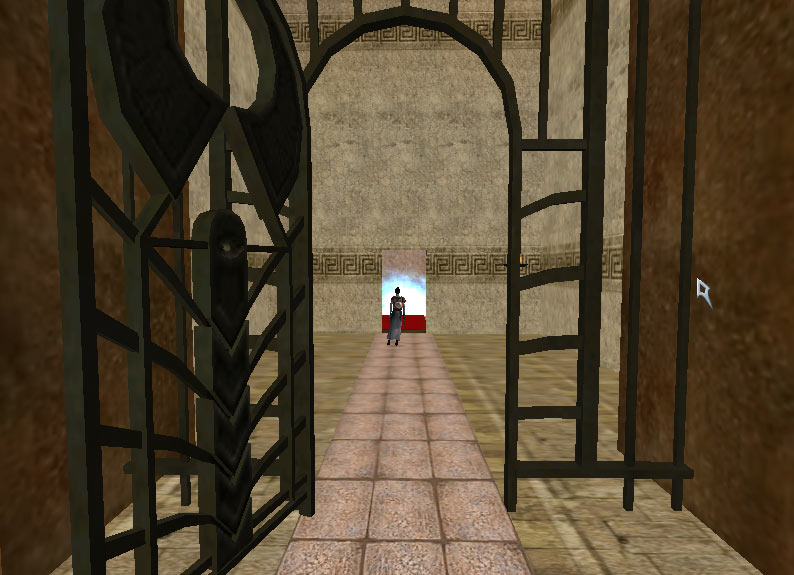
You can access it directly from these stairs, or benefit from the exit portal off Beast Lair's that leads you directly in Number Nine's room ...
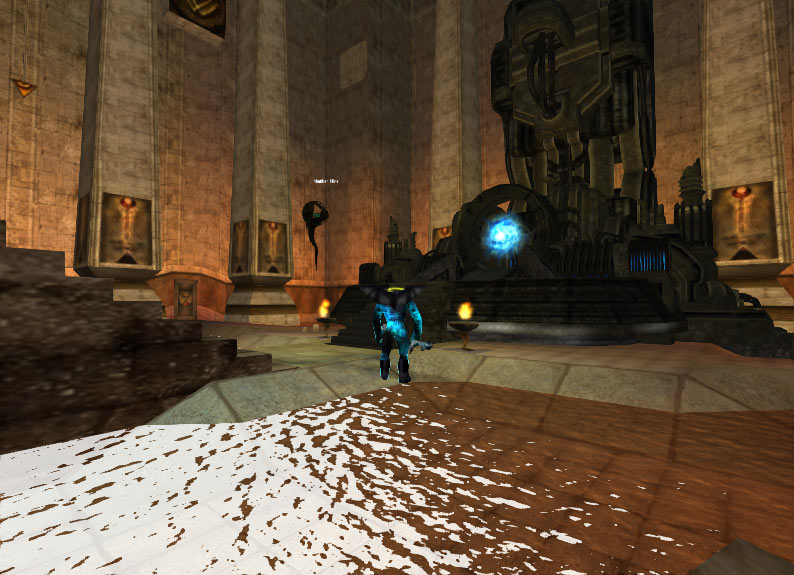
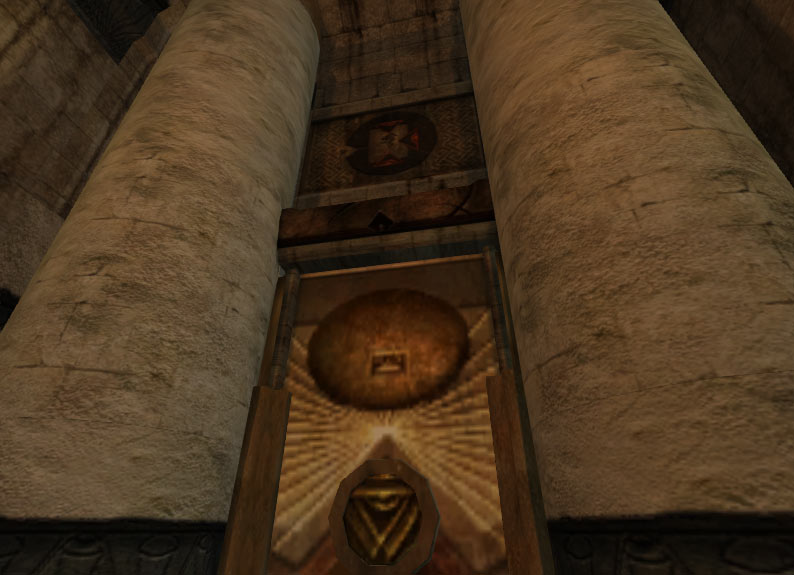
... behind which you'll find this door to the Pyramid itself :
But be aware! This is a high level encounter made only for a skilled 6 players team of level 201 or above (advised!), and individually meeting one (or several) of these requirement(s) :
- Any Profession Nanodeck (DB Quest base or Xan upgraded) worn
- AND/OR
- 'Guarding the Source' quest finished
- AND/OR
- 'Legacy of the Xan' quests finished
If you don't meet any entrance criteria, you won't be able to get inside.
- Note: Entry into POH has been tested and successfully granted without doing any of the above, simply by looting your Profession star from The Beast during a Beast raid, and wearing it. You should have the star for at least 12-24 hours before trying to enter or it may tell you you are not ready to enter. If this does not work for you, the above-listed ways are still viable.
⇑
PrincipleWithout revealing you all the mysteries of the place, let's just say that the dungeon will first confront you to 3 "warmup" bosses all separated by "puzzle" lifts of growing complexity - in which you'll have to synchro-kill several specific mobs to have a chance to pop the keeper summoning portal to deeper stage. Only if you managed to overcome all these challenges, you'd have access to a chill-out spot from which you'd be authorized to enter the playfield of final boss, a gigantic monster mixing previous ones most skills.
Not scared of all these dangers ? Fine, then let's start already with entrance floor containing only 2 identical mobs to be synchro-killed to get the portal mob.
This should be piece of cake, and soon you'll have your first portal available to go under !
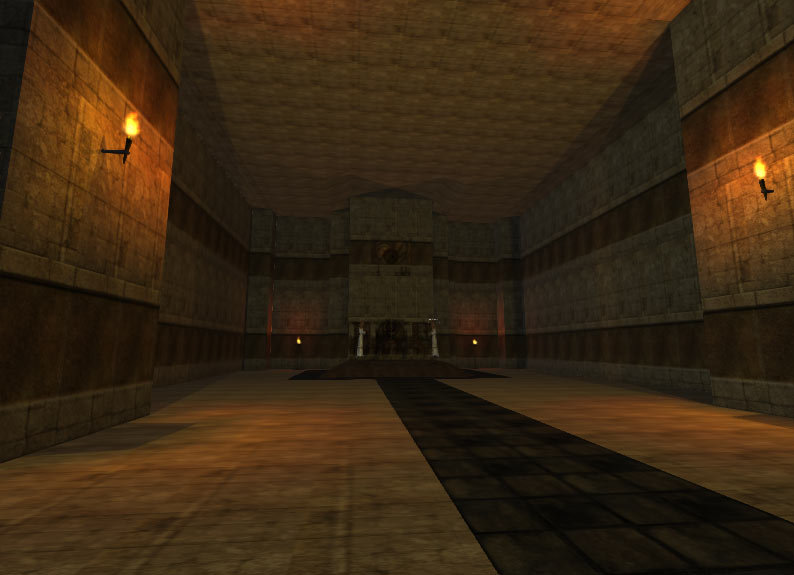
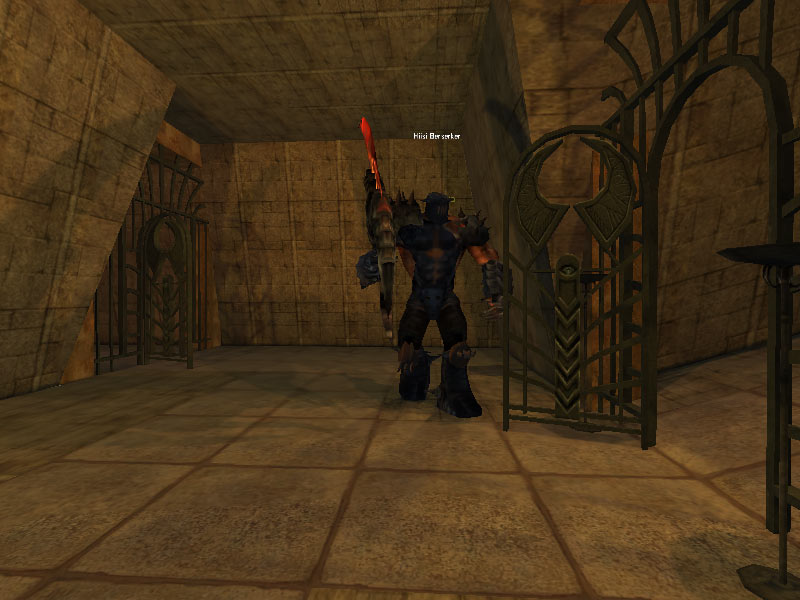
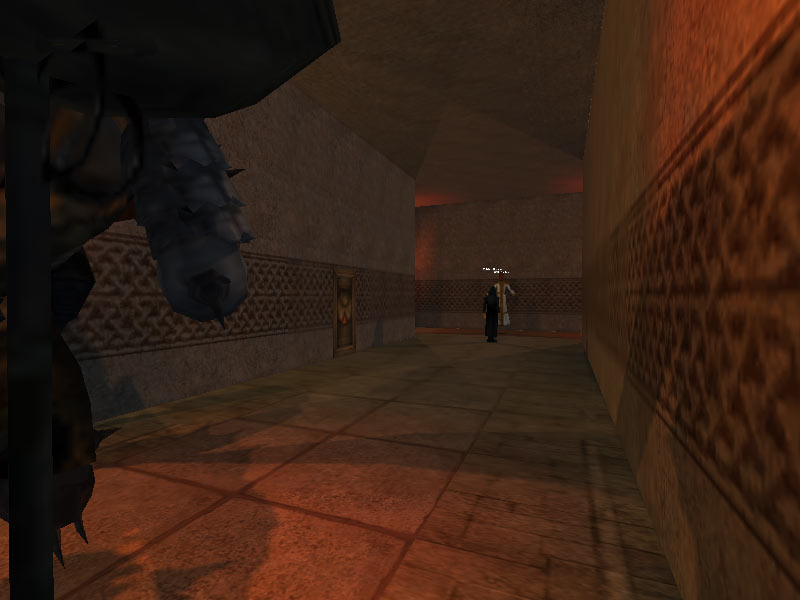
Next level will let you explore further down through a corridor :
And there you'll meet the first ennemies. Some are visible and rather simple like Hisiis :
But some will use some dirty tricks on you, like these nukers :
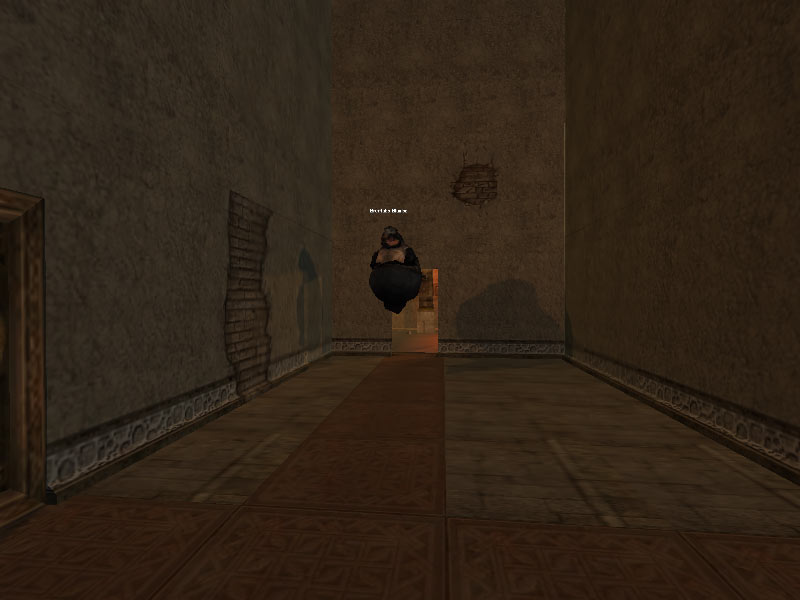
You will also cross sneackers, critters, debuffers, summoners, stunners. So be cautious or you'll be doomed to rewind from entrance !
Let's go for synchro-kill of the 2 identical mobs, one being in this corridor :
Portal obtained, zone to inferior floor being ready for first boss ...
⇑
Cybernetic DaemonThis robotical voracious is waiting for you in his dark square-shaped cavern. He's hitting hard and has stun & pushback capacities, plus he can pop some deadly fireballs moving all around.
Among other strats, you may have to find protective spots, may be part the team in 2 groups (melee one side with tank, ranged other one with doc) placed in safe locations, in order to survive and wipe the boss. If so, portal below when your loot distribution is done.
Next level is a bit more complex and requiring synchro-kill of 3 identical mobs, this time : 1 right side of main cross, and 2 left side (1 north, 1 south) ; if you did it all well, you'll get the next portal north of main cross :
Time to lift groundward for the "barrage" boss of the Pyramid ...
⇑
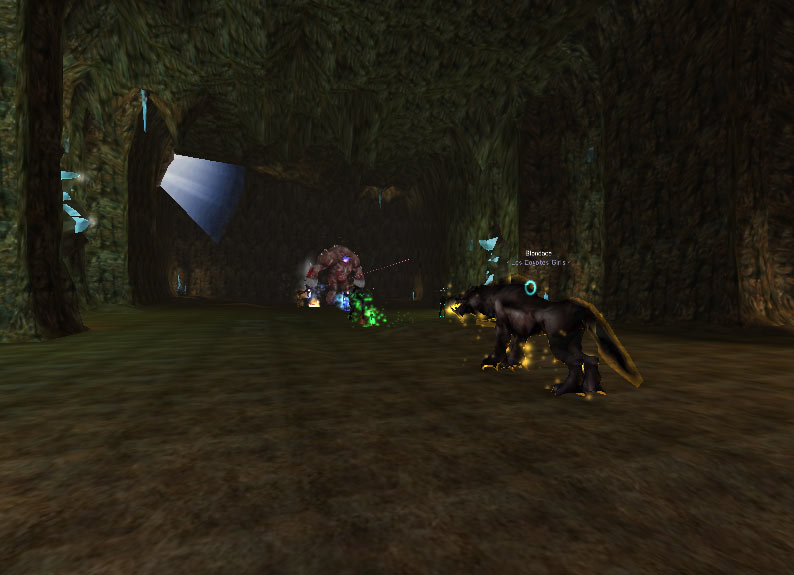
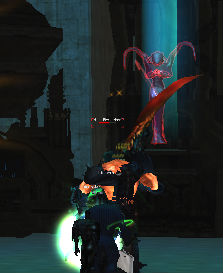
Azdaja the JoyousUnlike his name suggests, this void-Lord-like is no joy at all : once in fight, he'll very often control some team members (tank ahead), pop several type of mini-himself (critters, debuffers, healers, etc) and will also frequently trick your NCU (making you heal him on hit !) and morph you (which blocks any action you'd want to do) at will.
His adds are indeed to be killed as soon as possible, especially for the 'Sorrow' type wich is deadly. And to get rid of his debuffs and morphs, the only way is to jump in any of the lateral beams of light, but only when it's GREEN ! If you happened to jump in RED light, you'd surely jeopardize your few chances to beat him.
So, your team might fairly die a few time before passing this "wall", and this is not unusual at all, as even the most skilled players can fail in this room. If you happened to succeed and get portal toward downer, the next plane will now require synchro-kill of 4 of identical mobs : 2 right side of main cross (1 south, 1 north), and 2 left side (both northest part, 1 on left, 1 on top of secondary cross). Once you've done it all correctly, the portal might pop right of this secondary cross, deep into a gloomy organic cave.
Zone bottomward all together, preferably, to eliminate the last ennemies separating you from the third boss ... note that you could also rush to boss room but newcomers might not survive it !
⇑
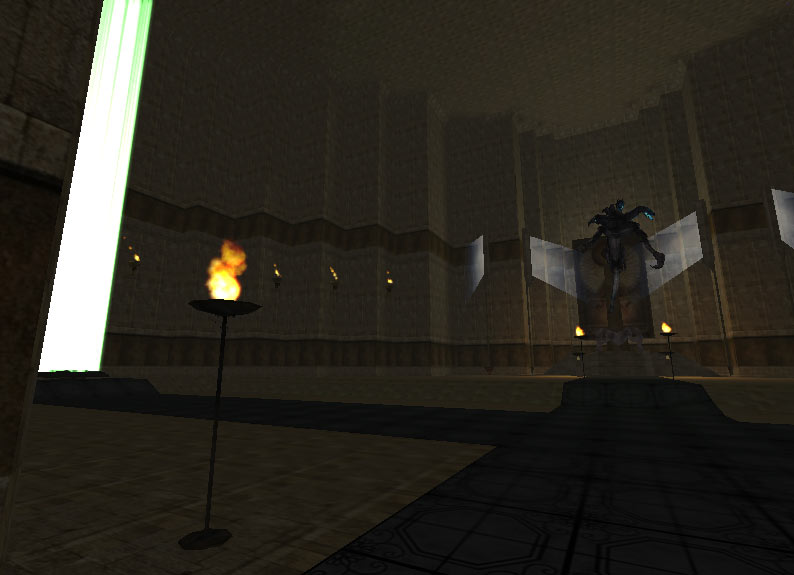
MaidenShaped as a Malah, she's your next almighty opponent. First of all, she'll summon a wall of fire in her room's corridor as soon as you attack her, so don't stay in it. Second, she's able to bomb all around her with deadly lasers that melee professions would better avoid to survive. Third, she'll frequently teleport to an unreachable spot and pop some adds you'll have to kill - especially her nuking clones growing in numbers (2, 4, 6 then 8) at every new wave ... because if you don't kill these fast enough, it's very likely that you'll die from their crazy explosions.
Although not as hard as the unjoyous previous boss, her tricks can nevertheless lead to one or several casualties among your team - wich are then temporarly unable to rush back to help due to the flamed corridor. That said, she's far from impossible and you should soon be able to teleport into subjacent chill-out area ; there you can pause, eventually logoff to reform another team later, or decide to run upstairs and cross the blue portal ...
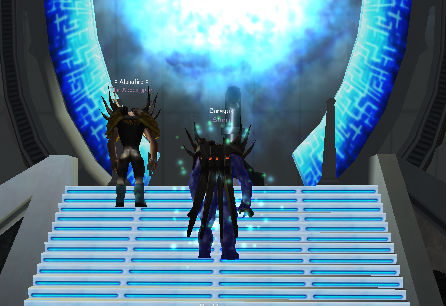
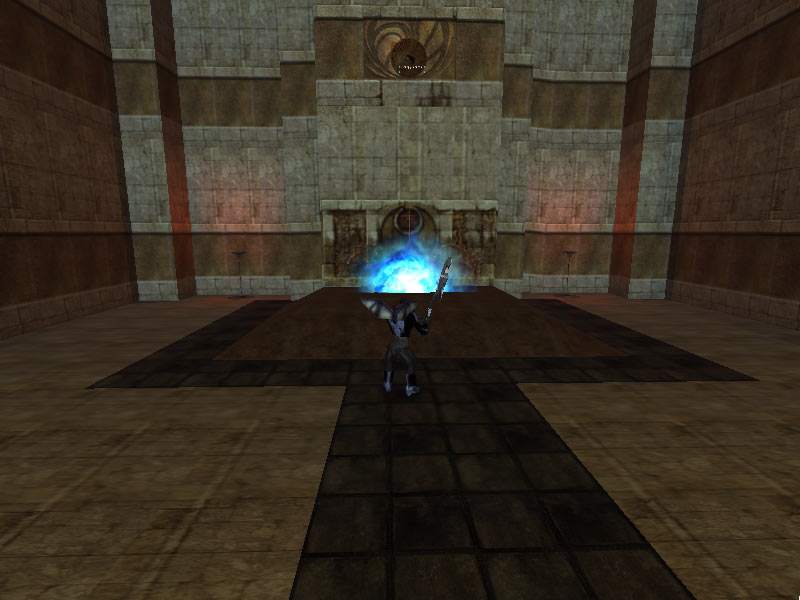
... to finally meet the frightening master of the Pyramid ...
⇑
PhobettorHe's primarly under his human shape. But once killed this rather insignificant knight, you'll front an enormous anansi-zealot mixing most capabilities of the 3 "warmups" bosses you've already beaten on the way ... but in huger version ! Colossal healthbar, massive bombings, tremendous reflect, jumbo fireballs, he will seem unbeatable at first glance.

Hopefully, there's a weak point in his achille's shield : he's very sensible to the unstabilities that are randomly appearing around his twisted den ! So the most promising strat is to train him inside a rift whenever possible and then send all damage you can during that short window of time when his shield is down. Out of these phases, you'll mostly have to avoid his shellings and fires (possibly snarable).
Good luck to stay focused and reactive all along this tedious fight !
⇑
LootsAll the bosses in the Pyramid are likely to drop "corrupted" versions of the Beast weapons, already listed on bottom of this Pandemonium guide - so there's no need to relist them all by here.
So let's mention only what's unique to this new dungeon. To begin with, here are some very cool utilities :
Crit/DD | Def/Heal/Nano | NR | Def/AC/Delta | Heal/DD |
Next but not least : the widely wanted 'Awakened' upgrades that you can apply to various items ...
Primed Cap assembled, you can apply it to your Xan, Clan Merit or Omni-Tek Award board, in both Defense or Combat version, to upgrade to the max :
| + | OR OR OR OR OR | = | OR OR OR OR OR |
Nice isn't it ? But please wait to see what you can do with good ol' Beast armor parts :
| + | = | for Helmet, Back, Chest & Pads | ||
| + | = | for Gloves, Pants, Sleeves & Boots |
While you'll need 1 Sigil of correct type per armor part to be upgraded, good news is PNID isn't consumed in those processes, so looting one should be enough to obtain your lovely new clothes :
| + | OR OR OR | = | OR OR OR | |
| + | OR OR OR OR | = | OR OR OR OR |
Need one more incentive ? Wearing such fullset will let you access this excellent perk action :
And note you can also upgrade Beast's neck with same process than described upper :
... so what are you waiting for to run downward into the Pyramid Of Home ?!
Last updated on 05.03.2023 by Cariadast
Gathered by Bitnykk
Do you have questions about this article or found an error? 4 comment(s) - Click here to view them!
Gathered by Bitnykk
Do you have questions about this article or found an error? 4 comment(s) - Click here to view them!
