Gauntlet
Table of Contents [+]
Class: All Classes
Faction: All Factions
Level: 201-220
Item Links:
Quicklink (copy this):
Feedback: Feedback-Thread
Faction: All Factions
Level: 201-220
Item Links:
Quicklink (copy this):
Feedback: Feedback-Thread
⇑
IntroductionInitially designed for high-level players as a team-against-team race to the top open-air roof-like floor, the Gauntlet is essentially a semi-instanced encounter with an entrance located in standard Pandemonium. This means you will need to kill Zodiac to get into standard Pande, and then kill some regular Pande mobs as well, on your way to kill the placeholder which will open a portal allowing you to enter directly into the Gauntlet.
Regardless of how many teams are present at the death of the placeholder, there will be 5 minutes to enter the Gauntlet. Once inside the Gauntlet, it offers 5 floors of new and interesting encounters.
Each team will enter into their own instanced area of the Gauntlet for the first 4 floors. This means you will be competing blindly side by side to reach the open-air top-floor boss first, kill it, and claim what treasures it may hold.
While designed as a race often with Factional benefits, in the end, these days it's not often the race it once was. The contest to reach the top first is a rare event and somewhat lost to history. You are more likely to be the single team there to earn the parts and pieces to make the armor the Gauntlet offers. In this case, you may also use this encounter simply to take time to farm the mobs and bosses, and collect (numerous) items to tradeskill armors so many players like to have.
Whether you've entered a race against other teams or you are the only team in the Gauntlet, be sure to quickly kill all the floors, grab the part you want, and reach the top floor. Not only will you find the boss there may hold already assembled armor pads for you, but also something to benefit your factioned side,(clan or omni) for about 18-hours.
So let's look at some more details for running the Gauntlet!
⇑
Getting OrganizedTo participate in the Gauntlet, you must be at Caina (Pandemonium's entrance) at the right time. So, long before that, in order to obtain an approximation of the next time frame, you must get there & speak with the following Amesha Vizaresh's incorporeal presence, near Inferno's portal.

Amesha Vizaresh
This incorporeal presence will reveal to you the time of his next reincarnation - which will also be announced server-wide by a chat message: "Vizaresh has appeared in Pandemonium - The Gauntlet will be opened soon!".
- Note: But to be honest, when you see this message it's generally a bit late to both form a decent team + be there in time if you are expecting a race to happen, as you'll see below ... hence the interest of having this "ghost" spoken long before pop to be prepared & stand in a bit earlier.
⇑
PreparingSo, be sure you check the timer in Caina frequently, and before creating your team decide which type of run you want to do it would be:
- A quick race to the top, spending little to no time collecting regular items to rush roof ASAP.
- A slow kills of bosses, allowing all adds to pop, farming parts & rolling boss items with a team.
Be sure to set this choice clearly with your team before start!
What professions should a Gauntlet team be composed of? Minimally, it is good to have a skilled healer no matter if you want to do it slow or not, because some mobs inside hit pretty hard. Beyond that, if you want to rush and be safer, it's wise to have a good enforcer to hold aggro. Be sure to have at least 4 top damage dealers - unless you really know what you're doing.
⇑
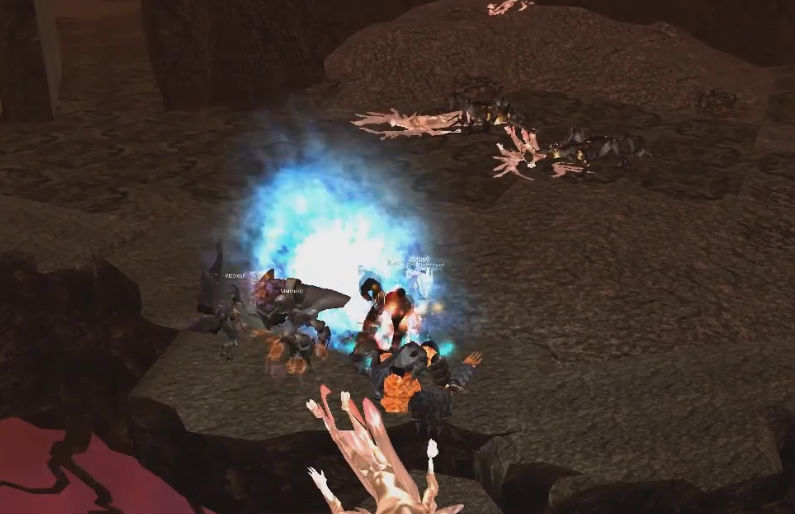
Pop timeAs soon as Vizaresh's reincarnation is announced server-wide by upper message, you and other players there have to enter real Pandemonium (non instanced) by killing the classical Zodiac scourge and his two adds after Caina's bridge, passed sided garden rocks. Once killed & entered using blue warp, walk the few stairs going north and turn immediately right (east) using this triangle doorway:
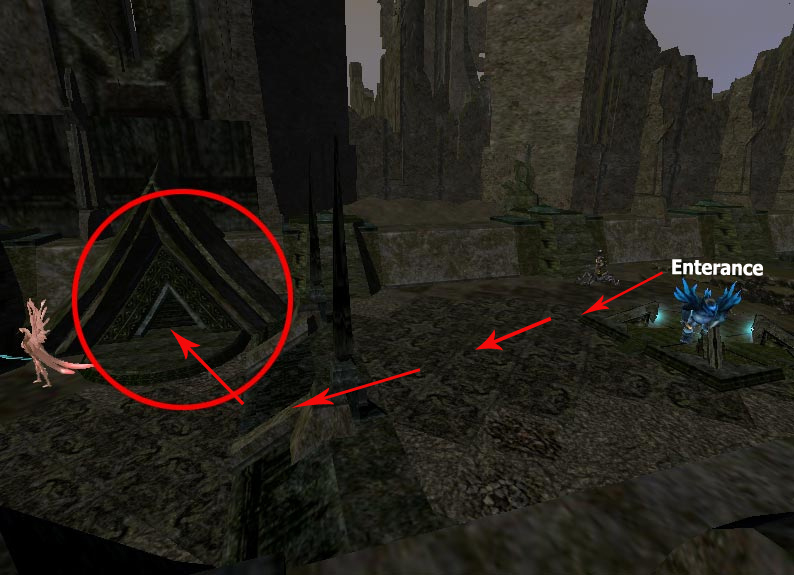
Up in there, go forward and then turn right again: you arrived at location where Vizaresh should be incarnated. He will become attackable about 5ish minutes after the server-wide message, and can die very fast then - depending on all teams damage-dealing. When he dies, Gauntlet's giant blue warp pops right here for a few minutes only, so be there or hurry there !
Otherwise you'll miss this occasion & will have to wait next pop (about 18 hours later).
⇑
SraoshaThis is time for first lift boss named Sraosha, looking a bit like a redeemed. Don't worry: nothing complicated nor tricky to start with. He can be killed very fast, does not do much damage for a decent tank and has no special effects that should surprise you. His adds (Gannag Menog) have very low health, and also do nearly no damage, so they will go down as easily as they pop.
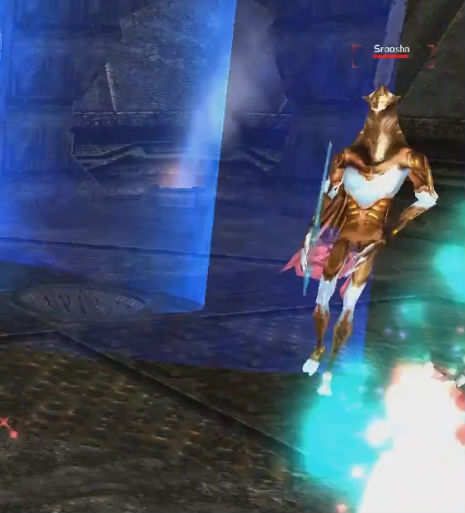
Even though level 1, the adds can drop almost any part needed for armor(s) so killing these adds if you are farming is recommended. If not, the adds do minimal damage so you can safely ignore them entirely and just kill the boss if you prefer to race. If you want to loot the boss, beware not to double-click the blue warp making you go up, otherwise there's no way back to the first lift. Once ready, go for next stage.
- Note: When Sraosha dies, the boss on the next floor will start spawning adds so it is not recommended to waste time dividing loot or you may be overwhelmed when going to the next floor. The same is true for every other floor in the instance.
⇑
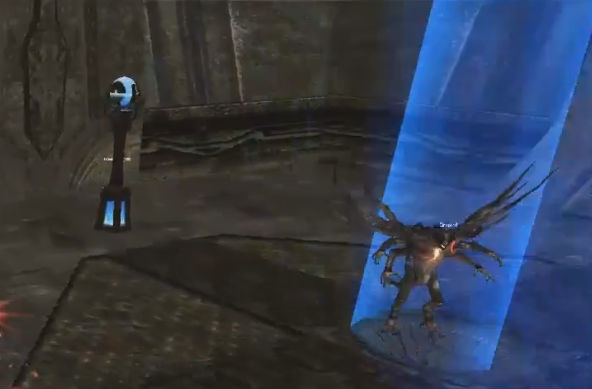
RashnuOn the second level is a boss named Rashnu, looking like a spider. He is a bit tougher and spawns Xeshm adds. These adds can hit quite hard when there are multiple so it is recommended to kill them if there are more than 2-3. Otherwise if you keep them debuffed you can safely ignore them and focus the boss if you are racing. Be aware though that the fear affect is caused by the adds, so leaving too many up will mean you will be feared more often.
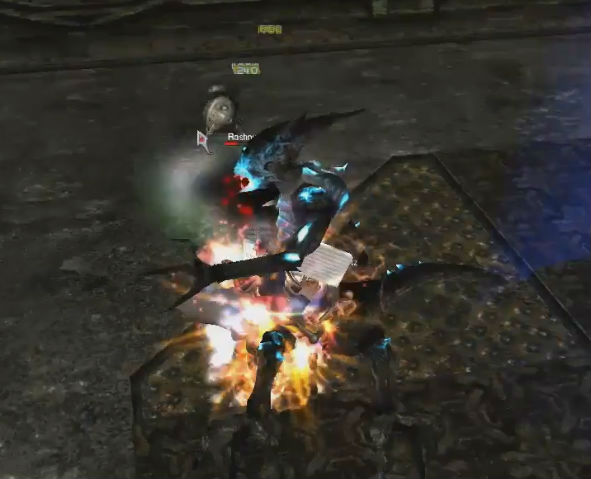
Once the boss is dead, yet again, double-click blue warp only when you're done here.
⇑
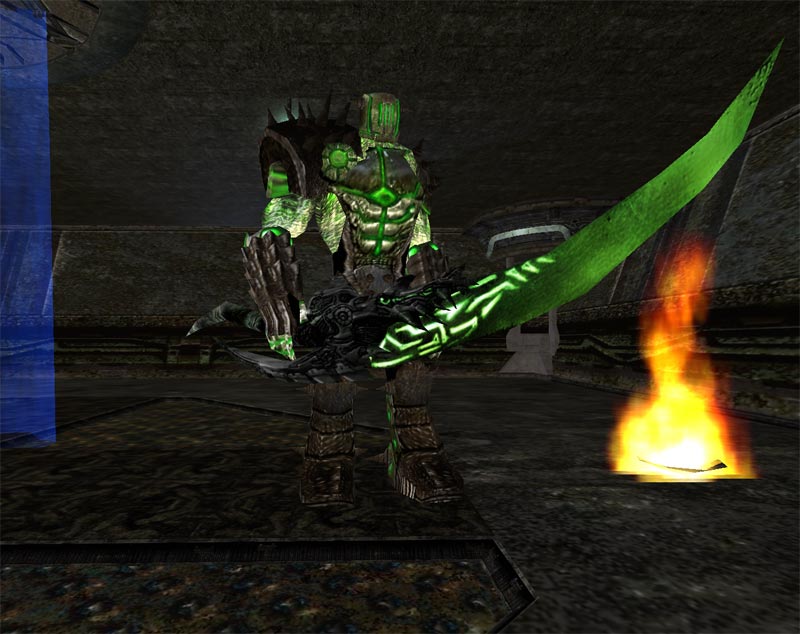
VahmanThird level is a larger boss, Vahman, a green hisii with big sword hitting way harder with more health, using fear and popping adds (Rashk) wich can land pretty bad hits. You'll also notice small braziers on the floors, which will occasionally create rotating fires. Standing in these will cause a moderate amount of damage, but better avoid them because the cumulation of fire + boss and/or add hit(s) could kill mid/low HP members of your yeam.
If you don't play too crazy, you'll kill (& possibly loot) all soon enough. But attention: double-click blue warp preferably all together this time, or at least tank first then healer quickly following ...
⇑
Ormazd... why that ? Because next lift, the scourge named Ormazd can be the cause of deadly scares. He, initially, hits very hard (more than a decent doctor can cover), hence advice: don't lift first & alone with him if you're low/mid HP, or you're his instant lunch/dinner (depending time of the day). Just let tank lift & aggro, then team can lend him 1 or 2 debuffs and he will be way more manageable.
- Note: He will occasionally stun entire team, which will freeze any action for about 3 seconds, including perk & cast bars.
As any big HP sack, it can take a pretty long time to kill him. If your team had any unfortunate death(s) at the start of combat, that can make it even longer. One good idea is to take down the 3 towers surrounding him, to make him easier (especially if you farm items as these towers drop some more).
If you successfully killed, looted and all, be ready to click blue warp, but beware this time it will zone you out of instanced part toward public roof.
⇑
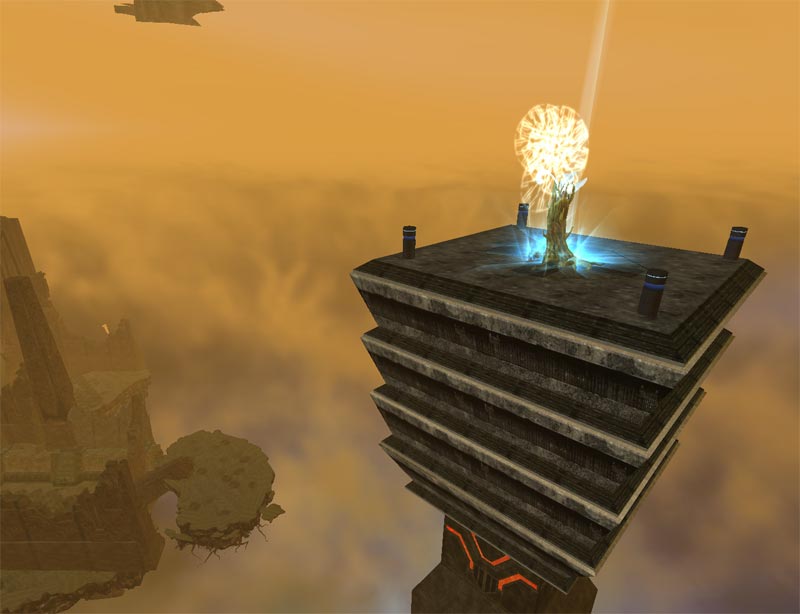
Azi DahakaIf you're the first team up here, congrats: you should be fronting the "Pinata" of Gauntlet, Azi Dahaka that looks like a tree zod, containing already made upgrades (avoiding you to collect the many elements for armors). He hits much harder than the rest of lower level bosses, has high resistance and health, and also benefits of 4 towers assistance. Debuffing the whole roof before starting the damage dealing is a good advice here, but the towers do not have to be killed if you're not interested in the armor parts they can drop.
Once the boss is dead, a blue warp is available to leave Gauntlet. If you won the loot rights, you should find a:
⇑
Coalescing Energy CascadeIf you were lucky enough to loot A Single Strand of Glowing Dark Energy, you can hand it in at the following NPCs:
- Clanners: Stella Barnesin Old Athen near the whompahs.Athen Old - 448x286
- Omnis: Elliot Fairlanein the middle of Omni-1 Trade.Omni-1 Trade - 448x354
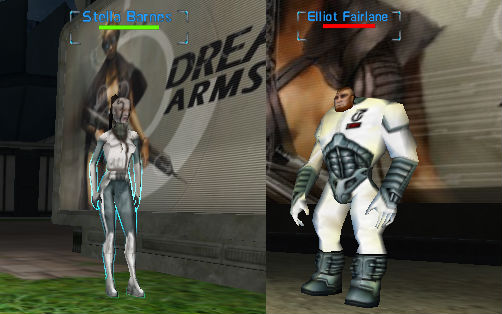
After the trade, the NPC will provide the following buff to everyone of their own side as well as neutrals. Players can simply "offer their wrist" to receive the buff.
⇑
NCUBesides armor components, you may have also found one or more NCU Infusers. These can be used to upgrade various NCU items.
| |||||
| |||||
| |||||
| |||||
| The NCU Infuser is consumed during assembling. |
⇑
ArmorThe Gauntlet offers three armor pieces: Two Shoulder Pads, and a Back Piece. There is some looting of parts, and tradeskilling involved in their creation.
Let's take a look at what it involves, how to get the needed parts, and how to tradeskill these great pieces of armor.
⇑
Plate parts During the raid, you will have found many (many many many...) items. Most of these will be parts to create Armor Upgrades Plates.
But before we get into the actual plates, let's look at the parts needed, what they are, and how many of each will be needed for each Upgrade Plate. You can combine the correct items in the proper order as you go, or you can collect them, and combine them later, (see the Armor Tradeskill section below).
- Note: It would be wise to grab some empty backpacks before you head to the Gauntlet!
Loot List For Parts
- Note: List of items are what is required per each armor piece. There are three armor pieces available from the Gauntlet.
x1 | x1 | x1 |
x1 | x1 | x1 |
x3 | x3 | x3 |
x3 | x3 | x3 |
x3 | x3 | x3 |
x3 | x3 |
- Note: On the top floor the last boss drops THREE completed plates that will complete ONE piece of armor. You'll still need two more sets of the red, blue, and green plates, so be sure to grab all the items you need on the way.
⇑
Tradeskilling the Upgrade PlatesNow that you have collected all the parts to make the plates, it is time to tradeskill them!
| Fatou Pattern Programming Utility Device | |||||
| |||||
| |||||
| |||||
| Mandelbrot Pattern Programming Utility Device | |||||
| |||||
| |||||
| |||||
| Collatz Pattern Programming Utility Device | |||||
| |||||
| |||||
| |||||
| Compressed Composite Weave You'll need 3 of these. | |||||
| |||||
| |||||
| |||||
| Synchotronic Recombinator You'll need 3 of these. | |||||
| |||||
| |||||
| |||||
| |||||
| |||||
| Upgrade Plates | |||||
| |||||
| |||||
| |||||
⇑
Armor PiecesIn addition to all the item parts you'll need to make the Upgrade Plates, keep your eye out for the Armor pieces you'll be using them on!
⇑
Upgrade PlatesWhether you create the Upgrade Plates or Loot them from the last boss, you will need three per armor piece: Fatou Upgrade-(red), Mandelbrot Upgrade-(blue), and Collatz Upgrade-(green) plates to be applied to each armor piece in the instance.
⇑
Upgrade Armor PiecesNow that you have the Upgrade Plates made, (or you have looted them from the last boss), and the inactive armor pieces it's time to combine them. No need to worry about applying all three Upgrade Plates. The Reqs for each upgrade do not change. All three upgrades require 1000 IP in all Abilities, and for your character to be level 201.
| Armor Upgrade The process is the same for the left shoulder and back armor. | |||||
| |||||
| |||||
| |||||
⇑
Paint! (Available on RK5 ONLY!)In addition to all that, you can buy an SSC "Bastion" NanoPaint Chip from the in-game store for 360 FunCom Points and apply it to the armor piece you just built. The chip is consumed on use, so you may need more than one.
This will allow you to change the colors to any of the following combinations. To switch between them, apply a Screwdriver. The table below shows all the available color combinations.
| Colour Combinations | |||
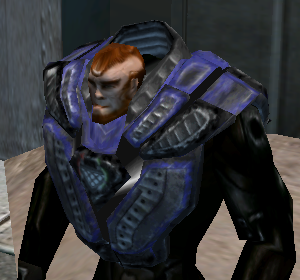 Black & Blue | 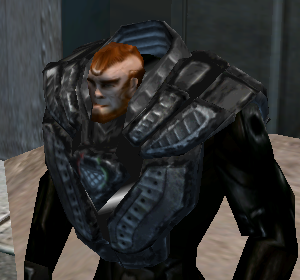 Black & White | 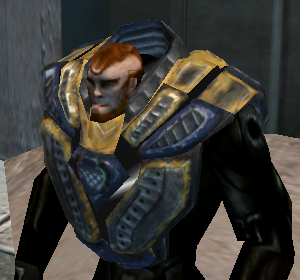 Blue & Yellow | 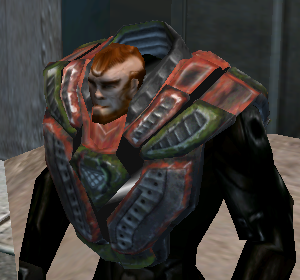 Green & Red |
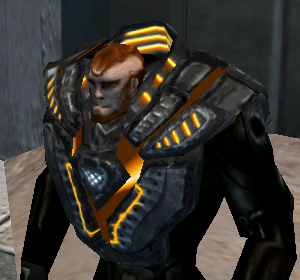 Grey & Gold (Base) | 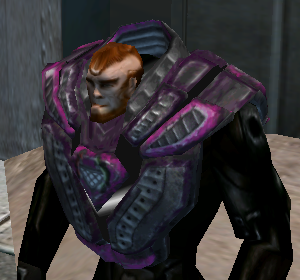 Pink & Purple | 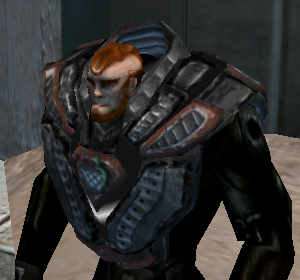 Red & Black | 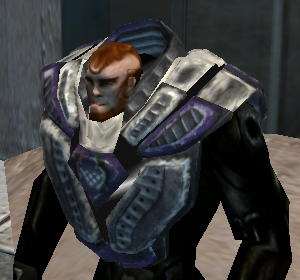 White & Purple |
- Note: SSC "Bastion" NanoPaint Chip are NOT available for RK2019 at this time. There is no ETA for that to happen to our knowledge.
Last updated on 03.27.2024 by Cariadast
Revamped, clarified, and updated by Caridast March 27, 2024
Part list for plates provided by Keex
Guide prepared by Notnotnotnod.
Finalized & illustrated by Bitnykk.
Tradeskill processes reformatted by Saavick.
from Armor Guide:
AO-Universe/Snakebite and Afreng
AO Forum/Siro, Cdogg421, Maeventura, MajorOutage, and Scotty for initial guide and script
KelticDanor for the armor screenshots
Special "thanks" to Blutsauger from The Union
Do you have questions about this article or found an error? 8 comment(s) - Click here to view them!
