The Crypt of Home
Class: All Classes
Faction: All Factions
Level: 50-110
Item Links:
Quicklink (copy this):
Feedback: Feedback-Thread
Those traveling trough Newland City might run into Farno Kilharha, who's taking a stroll around west part of city.Faction: All Factions
Level: 50-110
Item Links:
Quicklink (copy this):
Feedback: Feedback-Thread
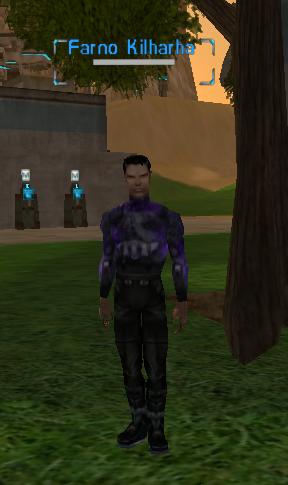
If you have time to stop and chat with him, he'll explain you a thing or two about Crypt and even issue you a mission to travel there.
The
Crypt of Home
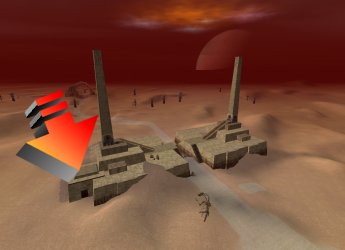
dungeon is located in Broken Shores (355, 2215) just northwest from the Clan City of Home. You can either use the grid to reach the area or use the Whom-Pah to Broken Shores from Bliss (the Longest Road zone). In either case, you will still need to travel to the dungeon either by foot or in a yalm. Storms in BS are common, so don't be surprised if you can't see too far ahead while traveling. Broken Shores - 355x2215
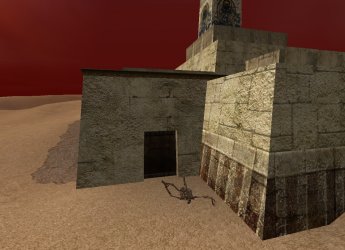
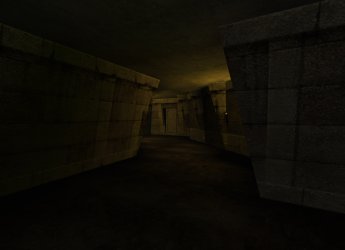
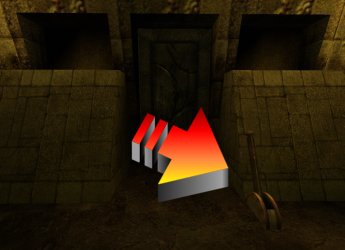
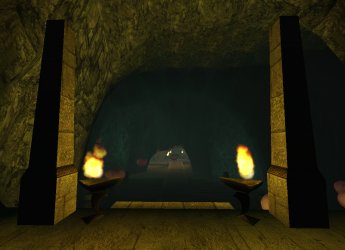
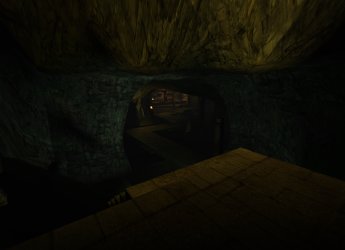
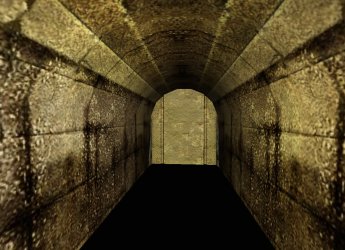
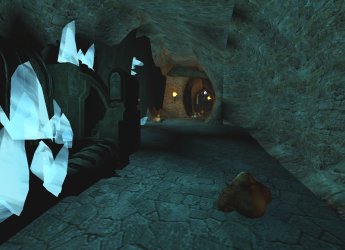
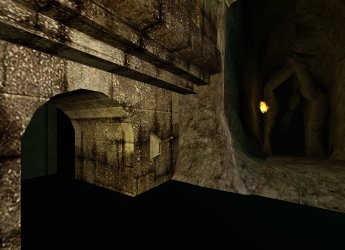
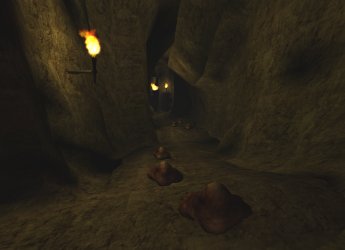
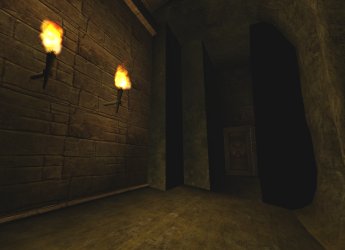
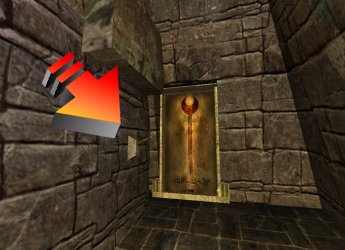
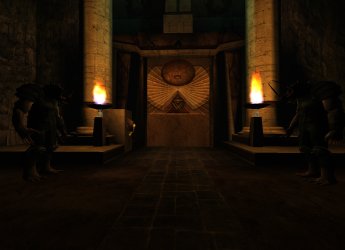
You will find what seems to be an abandoned temple, some even say they are ruins. The entrance is fairly easy to find (see images below).
To enter, you need to be no higher than level 110. However, there is currently a legit way to enter it if you are above that level. An engineer can beacon warp you inside, so don't be surprised if you see a high level running around. Players usually get their stronger characters in to acquire items for their lower level alts (alternative characters).
I must warn you that this is one of the most complex dungeons in the game, where you need to switch levers to open doors, and even then you have a limited time before the doors close, bosses that are well protected by their minions (or even other parts of themselves, you'll understand later on in this guide).
Here is a map to help you out a bit (be aware that some sections overlap):
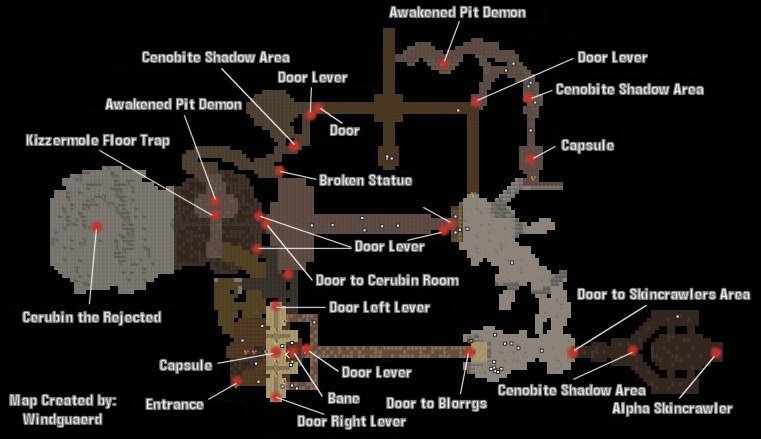
Note: This is the most complicated map I have made so far, I recommend that you be very aware of your location and which level you're in so that you don't get lost of confused.
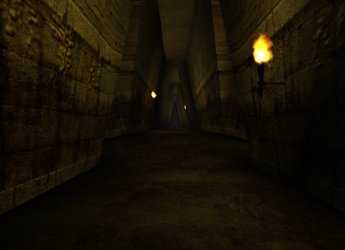
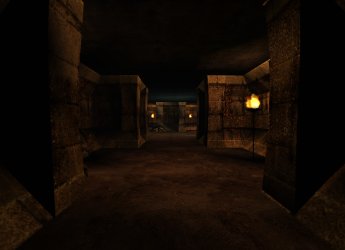
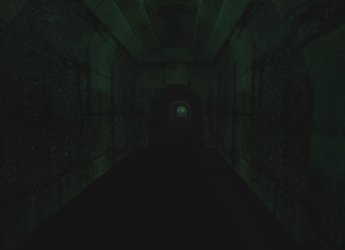
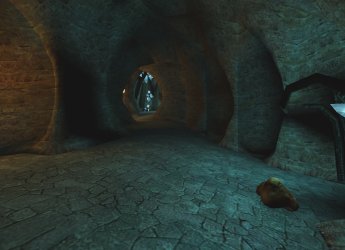
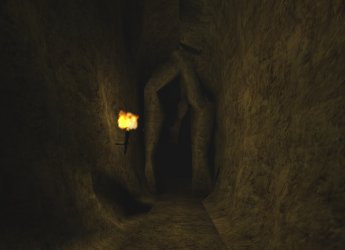
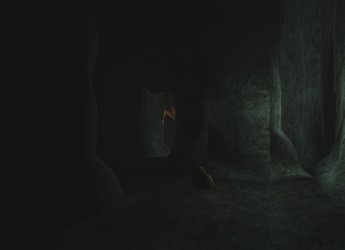
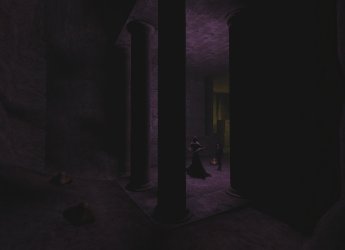
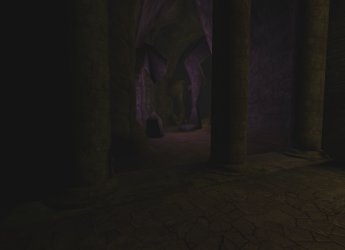
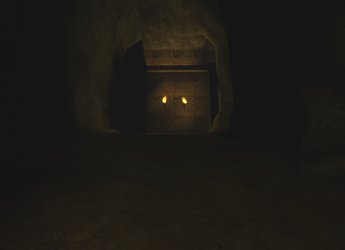
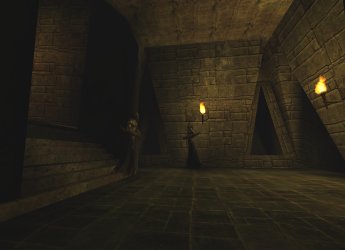
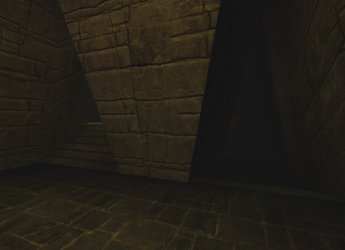
Another thing you must be aware of is that this place is very very dark, it would be easy for you to miss a mob which could attack you on sight. Bring some sort of light source if you want to see what's going on around you. Most images here will display how the dungeon looks like without any light source (except when there was zero visibility and I had to use light to show a location).
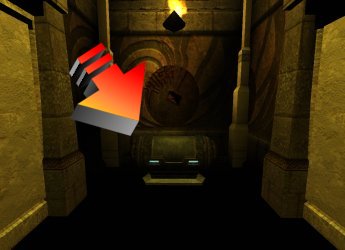
Let's start with the entrance. The first challenge will be opening the door into the first section of the dungeon. This actually requires two or more players. There are doors to the left and right, each leading to two identical rooms which have one lever. Both levers must be switched (right-clicked) at the same time for the main door to open. You have 2 seconds to run through the door before it closes. Usually a well coordinated pair can do this, but sometimes it is better to get a 3rd person to stand by the door and just go in.
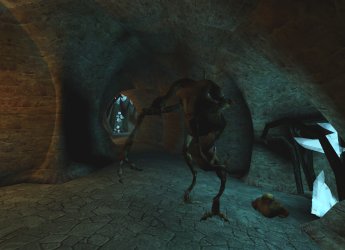
At the other side of the door there is another lever, which will also open the same door. This is to allow anyone who manages to run through the door in time to reopen it and allow other players to enter without having to use the levers in the previously mentioned rooms. All mobs will except the bosses will be around level 70+, you will find higher level mobs near the main dungeon boss. Some mobs will execute a Poison DoT nano (damage over time, which can be canceled by an Enforcer self-only Rage nano) and even temporarily blind you (Followers Darkness nano).
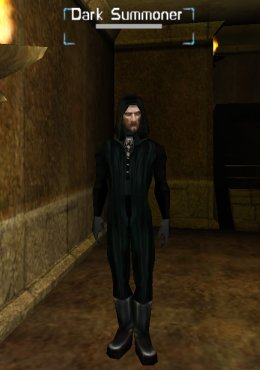
Mobs you will find in this section:
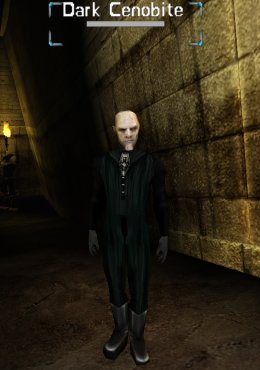
Dark Cenobite drops these items:
The Cloak of the Revoked can be turned into Veil of the Revoked, more on that later on in this guide.
Dark Summoner drops these items:
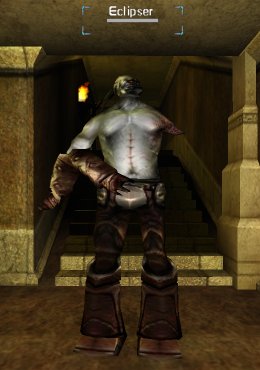
You will now find yourself in a long corridor, there will be a left and right corridors adjacent to the main corridor. Either path will lead downstairs where the first boss awaits you. Bane (level 90) will be well protected by 4 Eclipsers next to him as well as other mobs in that small area. Something interesting here is that in the middle of a very small room there is a capsule, which cannot be opened by any means currently. Some players speculate that at some point this dungeon will be developed further.
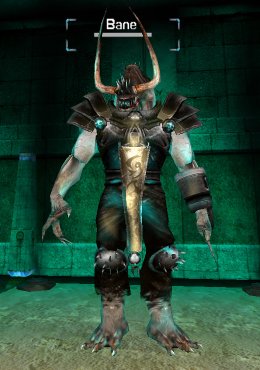
Bane
Bane drops these items:
Alright, now go back to the main corridor and make your down deeper into the dungeon, at one point it will be so dark you will need to look at your map to see where the door is.

You will enter a well lit area, where a bunch of Blorrgs with a couple of Eclipsers (which you met earlier). Blorrgs are highly social in terms of aggro, and drop Gas Bladders and Bundles of Twisting Nerves, a useful buffing NCU for fixers.
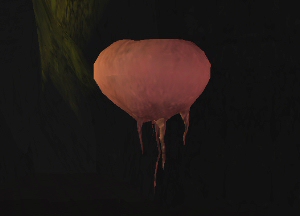
Blorrg
Picture taken from Faunlore
Make your way further in and there will be a door leading into the Skincrawlers area and a left turn.
Let's take a look at the Skincrawlers section where the second dungeon boss is located, the Alpha Skincrawler (level 90). Their hides are used to make Crawler Armor, for more details check this guide. The armor can also be upgraded to Prowler Armor with the Damaged Proliferation Unit which the Skincrawler boss drops, for more details check this guide.
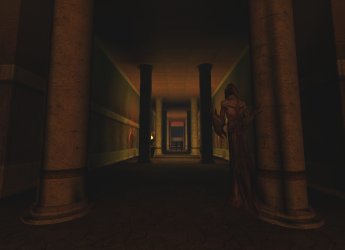
Something interesting is that this is the first area where you can find a Cenobite Shadow. These do walk around a little through the dungeon, but the map gives an indication of where they pass. Cenobite Shadows used to be hidden from view, only visible to those with high enough perception. This is no longer the case; everyone can now spot them, without having to search for them. Their cover is even further compromised by the fact that they are the only humans in an area full of monsters, so they show up as a white dot on your minimap, inbetween all the red dots.
Once you see him, feel free to end his miserable life, because he is one of the mobs that carries some of the best weapons in the dungeon. Any Cenobite Shadow you kill in the dungeon will respawn in 1 hour.
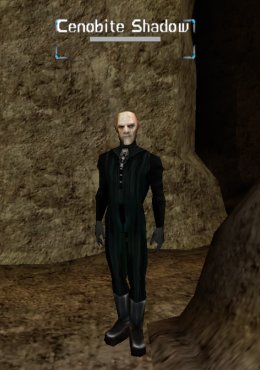
Cenobite Shadow drops these items:
The above listed weapons drop from QL 100 to 105. QL 100 is the easiest to equip and are also the highest in demand, with high resale prices to match. QL 105 is the most difficult to equip, with requirements that match most normal QL 200 weapons!. The Cenobite Shadow does not have a 100% drop on any of the different weapons listed. However, sometimes you get lucky and get a handful of these weapons. The Blackbirds are Fixer/Soldier only dual wieldable SMG weapons, Chiropteras are 1he weapons for Enforcers and Adventurers, the Howlets are 2hb weapons for Enforcers and Meta-Physicists, and the Panthers are 2he weapons for Enforcers and Meta-Physicists.
The Skincrawlers like the darkness, so watch for them in the shadows. You will find the Alpha Skincrawler at the back of the main room relaxing on what appears to be an old fountain.

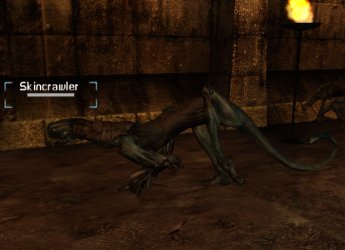
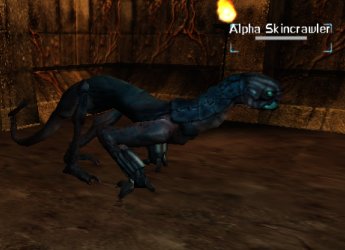
Alpha Skincrawler drops these items:
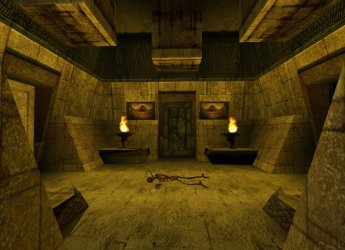
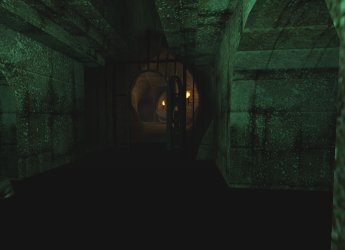
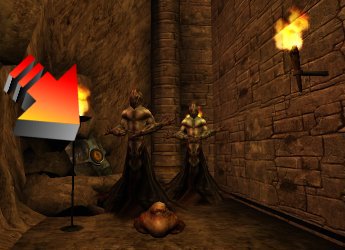
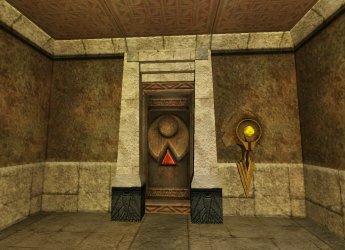
Now let's get back to the area with the Blorrgs, and take that left turn. You will get to a small set of stairs that leads to a dim area. Here you will first see a door with a couple of torches on each side of it. The door is guarded by Necromancers with some Eclipsers roaming the room. For now ignore that door because you cannot enter it from this side of it.
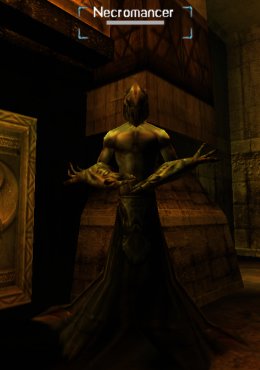
Necromancer
Necromancer drops these items:
The cloak is made to use a Reanimator's Cloak, more on that a bit later on the guide.
Past that door there are two paths you can choose. One is the entrance to a corridor which is flooded and has a number of Abyss Serpents; another is a hidden path behind a small waterfall left from the other entrance. Going past the waterfall will lead you to a room with Dark Summoners and Eclipsers who appear to be guarding a capsule that belongs to their master.
If you try to open the capsule you will hear this: "A whispering voice in your head: ...You are not Cerubin, my master. I am not allowed to answer your request...."
Besides those facts, the room is not something you need to enter for any real purpose besides killing the mobs within. Now if you go back and enter the flooded corridor be you will find that a few choices to go once you reach an intersection. Going straight forward will lead you to a closed door, which can only be opened by using a switch which we'll get to a bit later. If you took the left turn at the intersection, you will reach a dead end with a few Abyss Serpents waiting to bite your legs. Taking the right turn at the intersection will lead you to the third section of the dungeon which is full of Kizzermoles, another Cenobite Shadow will be hiding here so search for him if you want some of his weapons.
Kizzermole
Kizzermore drops these items:
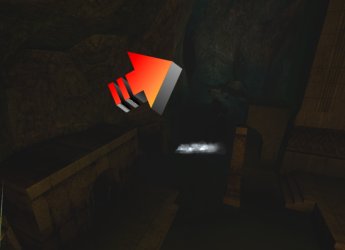
The Kizzermole Gumboil is popular for PvP, as they provide a powerful Sharp Object attack (essentially a free extra attack) for minimal skill investment. They can also be used quite effectively in PvM for added damage. You may walk into an Awakened Pit Demon, but don't always expect him to be there because you actually need to use a switch to spawn him (yes, another switch) which also opens the closed door which you were at the end of one of the corridors (you have about 2 minutes before it closes again). The switch can easily be found in this section, since there is only one other room in this cavernous area.
The good news is that besides having your path further open to you, the Awakened Pit Demon drops some interesting items, including an Nano-Technician only hood, a Pit Demon Heart that allows you to create a Reanimator's Robe, for more details check this guide and Pit Demon Spit for AC stims, for more details check this guide.
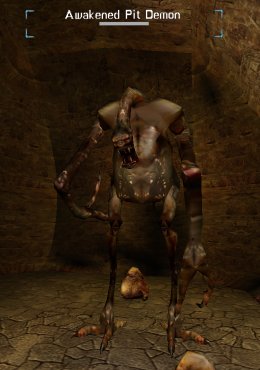
Awakened Pit Demon
Awakened Pit Demon drops these items:
Now let's assume you managed to get through the door before it closed, on the other side (which is very dark by the way) next to the door there is a switch to open the door from this side, allowing you to help other players access this section of the dungeon. A third (and last) Cenobite Shadow lurks at the beginning of this area. Expect to face more Kizzermoles and Necromancers as you go deeper into the dark caves of the crypt. There is something which is interesting here, at one corner you will see a fallen and broken unredeemed statue (from the Shadowlands expansion). You can't use it in any way, so keep going until you see tall pillars, which will mark an area with an Awakened Pit Demon and other mobs.
Now this room wouldn't be of much interest, until you actually step on a section of the floor which will trigger 4 traps to open from the ceiling dropping 4 Kizzermoles right in front of you (or around you if you ran forward).

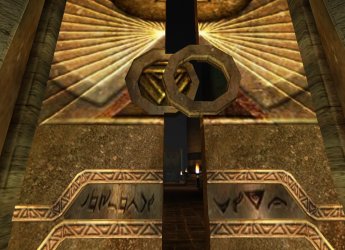
Past this area you will come to another section of the dungeon where a few Necromancers are guarding a small area. Here is where things may get tricky. Going left will lead you to a room which is inside the throne room (main boss room), but don't worry because you will be safe from him and his minions here. The room is inside but at the same time separated from the main room because of a nice metal frame. You will notice a button on the side which is what you will need to use to open the door to the throne room, remember it.
Now go back and go down a few sets of stairs, where you will come to a door and a switch next to it that will open it. The tricky part is that once you open that door you will have Crypt Guardians (level 90) and other mobs to deal with if you enter the next section...and if you do, the door will close behind you. The best tactic is to open the door and not enter the room but either use a ranged weapon or a nano to lure the mobs to you and clear the room that way. It's easier if you have a team, since one can remain behind and reopen the door while the rest kill the mobs.
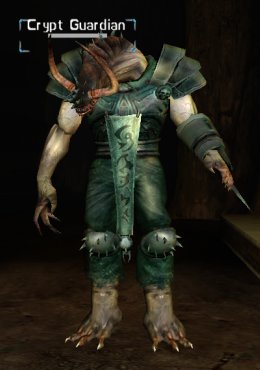
Crypt Guardian
Crypt Guardians drop this item:
Once you have the room cleared, the next step is to go back to the room with the switch that opens the door to the throne room. Once you unlocked the door to the throne room it will stay that way for 2 minutes. Use the second switch and enter the room which was just cleared, on the left side you will see a big door, you can enter it now. As soon as you go in 2 Crypt Guardians will be there, so be ready to take them down. You will notice an identical button which you pushed before to open the door you just crossed, it will perform the same function to help you get out once you're done, or if you need to run away from the place.
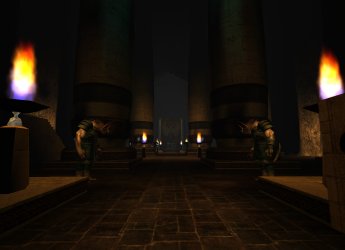
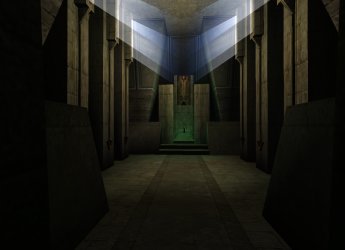
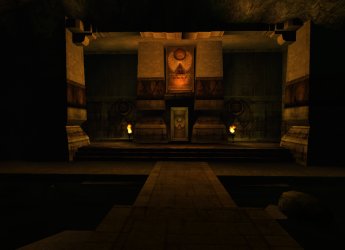
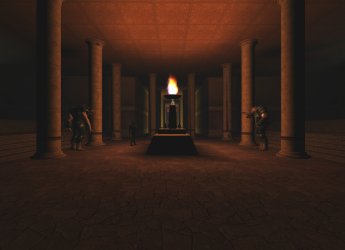
Going a bit down another 2 Crypt Guardians will be guarding the bridge to their master. Be aware that if you stand near the start of the bridge the main boss is likely to aggro you, and even warp you to him.
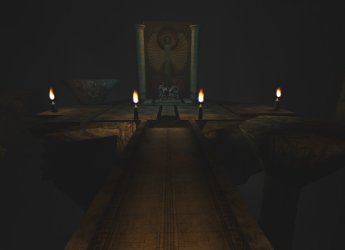
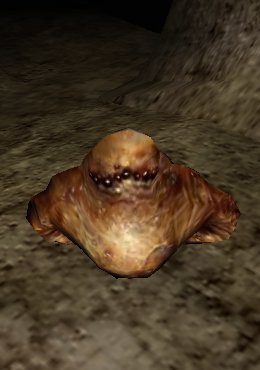
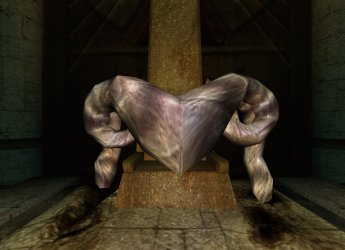
You have reached the boss mob of the crypt. Cerubin the Rejected (level 150) is not a happy fellow, after all he has been rejected by everyone in his life (and with his looks who can blame anyone for that?).
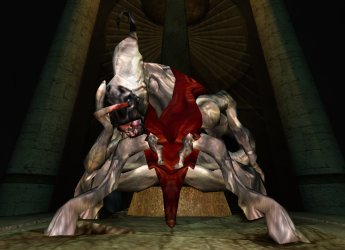
Cerubin the Rejected
The battle could be very easy if you're a high level or in team. However it can also be very hard because Cerubin has several different tentacles that will come out of the ground. Most will attack you, but there is one which will lead him for 1,000-1,500 in a matter of seconds. This particular tentacle is called Cerubin's Tentacle of Cure, so if you see it take it down quickly. Other tentacles can do severe damage, the less harmful ones are the Lazy Tentacles. The best tactic is go focus on him and then just eliminate the healing tentacle.
Cerubin the Rejected (and his tentacles) drop these items:
The tentacle clothing will increase your swimming, but won't provide you protection. I think this was a joke from the Devs. Most items are nice to have, but the Focus-Funneling Device will be an important item to any tradeskiller since it will lead to the creation of Focus-Funneling Helpers (Shadowlands expansion required), for more details check this guide. The Spirit Tech Circlet of Cerubin, along with a Cloak of the Revoked, is needed to make the Veil of the Revoked, you can read more details in this guide. The Jagged Claw can be improved with an MRR (Improved Thrusting Weapons) device to become a Mangler Claw.
Once you have taken him down, his throne will be empty but you will see a part of him remains, I believe he will respawn 20 minutes after he is killed. Use the button to reopen the throne room door and head down the corridor, remember that by now all the mobs you cleared are once again there so be ready for them. At the end of the corridor there is a door with a button next to it.
If you remember earlier in the guide there was a door you could not opened past the Skincrawlers section, well this is the same door (from the other side of the wall of course). Just use the button and see the door open for you, but don't think you have seen the last surprise yet. The moment you use the button a few Necromancers will spawn right by the door, even at the end there is something in your way. You can choose to kill these mobs (and the rest in your path) on the way out, or just run to the exit.
Last updated on 12.22.2019 by Saavick
Information originally provided by Windguaerd.
Additional Blackbird information from Koudman.
Do you have questions about this article or found an error? 2 comment(s) - Click here to view them!
Information originally provided by Windguaerd.
Additional Blackbird information from Koudman.
Do you have questions about this article or found an error? 2 comment(s) - Click here to view them!
